How to bring your colleagues into the admin panel, each with what they're allowed to do
Instead of giving someone on your team your password, you invite them to the admin panel with their own account. Your colleague signs in with their own email address and a password they choose, and sees only what their role allows. The invitation takes you a minute; your colleague has 7 days to accept it.
What each role can do
- Go to Account & Settings › Users. Only you and colleagues with the Administrator role see this screen.
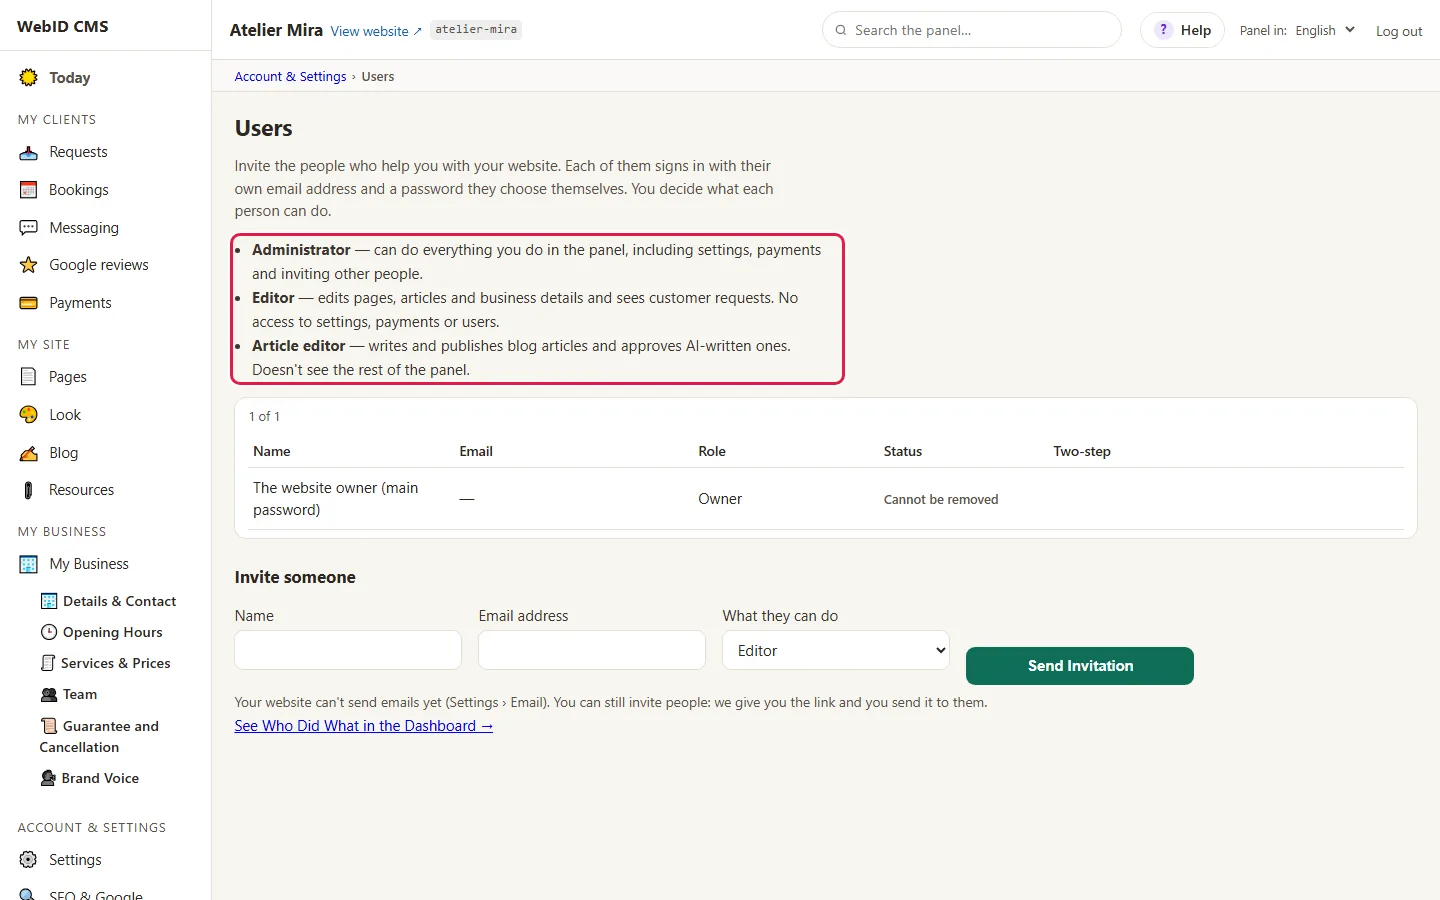
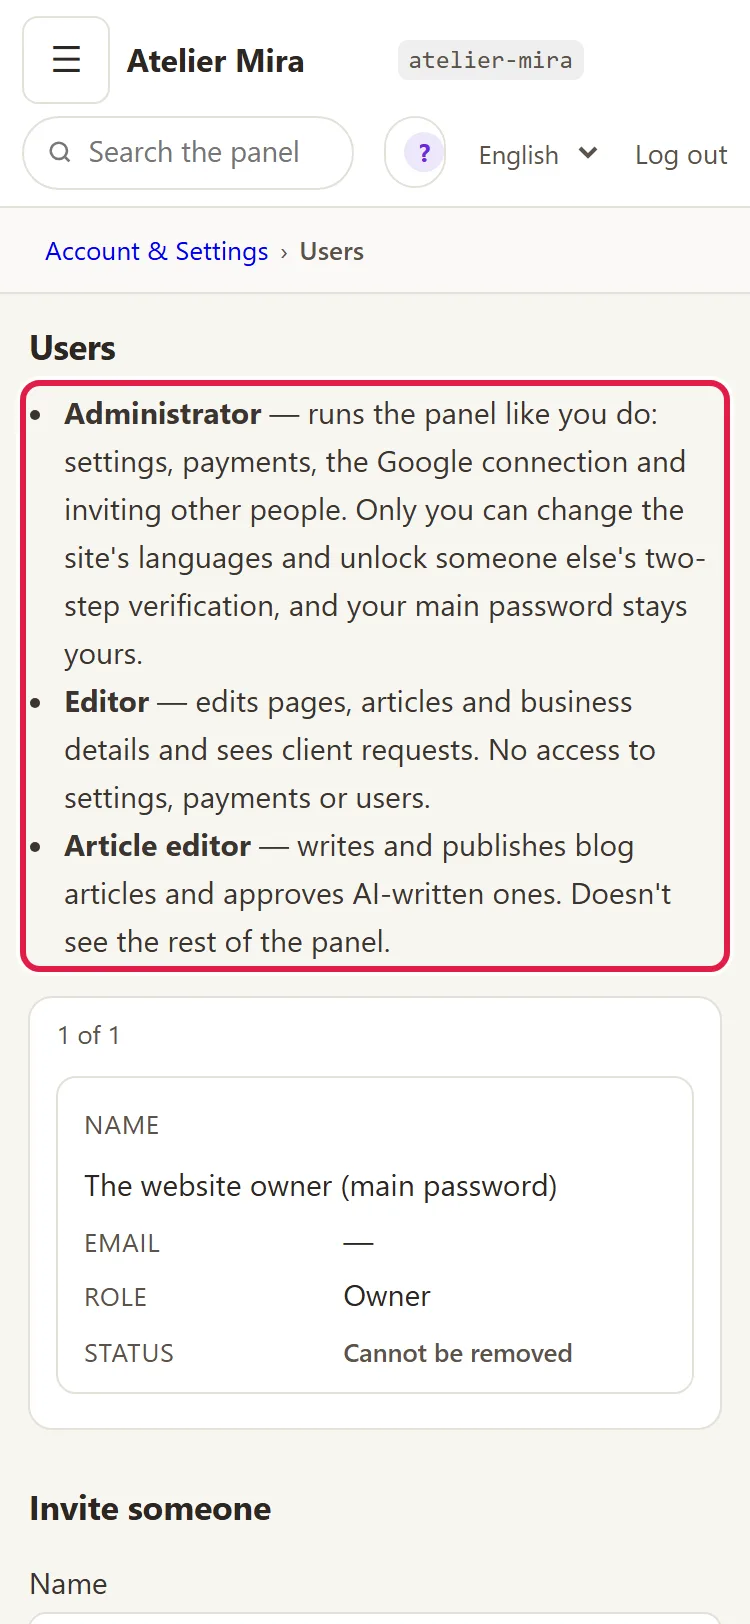
The roles, as the screen describes them:
- Administrator: can do everything you do in the admin panel, including settings, payments and inviting other people. Two things stay with you only: adding a new language to the website and turning off a colleague's two-step verification.
- Editor: changes pages, articles and business details and sees client requests. Has no access to settings, payments and users.
- Article editor: writes and publishes blog articles and approves articles written with AI. Doesn't see the rest of the admin panel.
No one to put on blog writing? With the Blogging Plus add-on, AI writes the articles about your business, and you or your colleague just read and approve them. See Blogging Plus.
Screen by screen:
| What they can open | Administrator | Editor | Article editor |
|---|---|---|---|
| "Today", "Pages", "Look", "My Business", "Requests", "Bookings", "SEO & Google" (sees and asks for proposals), "History", "Old Addresses", "Other Lists on the Site" | yes | yes | no |
| "Blog": articles, the blog plan, images, articles written with AI | yes | yes | yes (lands directly on "Blog") |
| "My Account": the password and two-step verification of their own account | yes | yes | yes |
| "My Account": subscription and invoices · "Settings" (with email notifications) · "Payments" · "Users" · connecting the Google account · restoring the website to a restore point · automatic article writing | yes | no | no |
| A new language on the website | no (only you) | no | no |
| The bookings panel (app.webid.ro, if you have the Bookings add-on), which they enter without another password | as administrator | as front desk | no |
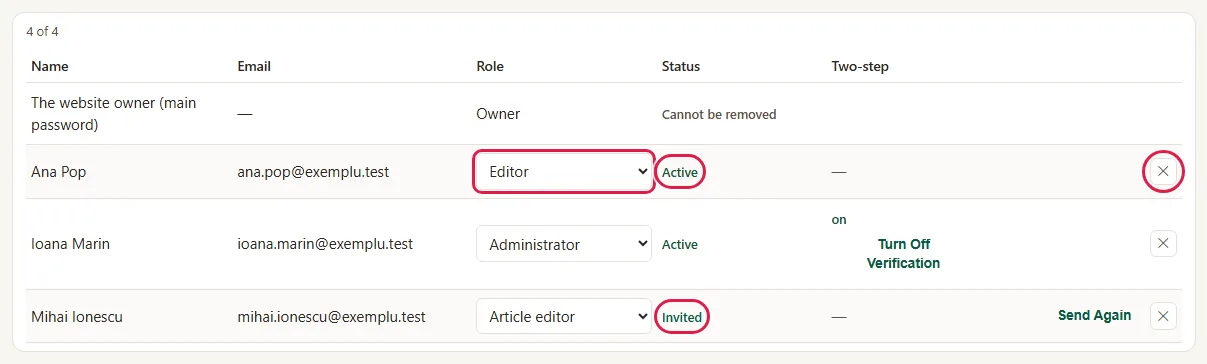
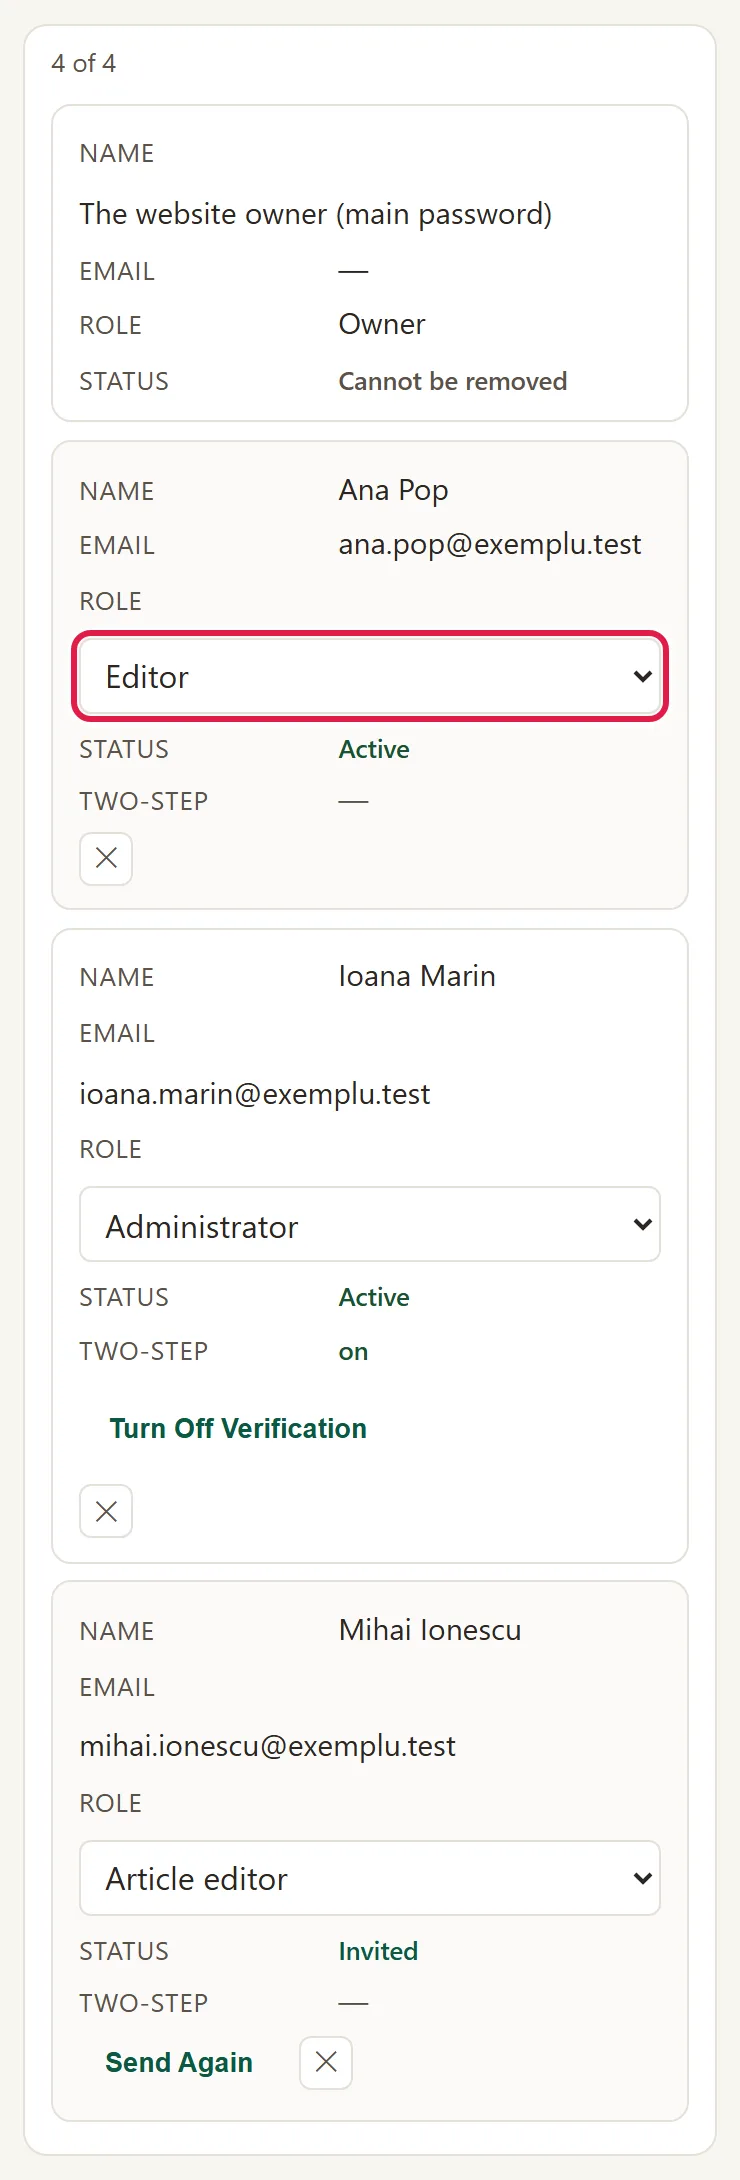
Below the roles you see the team table, with the columns Name, Email, Role, Status and Two-step. The first row is always you: "The website owner (main password)".
How to invite a colleague
- On the "Users" screen, click Invite someone.
- Type your colleague's Name.
- Type their Email address.
- Under What they can do, choose the role. If you don't choose, it stays Editor.
- Click Send Invitation.

- You see the message "Invitation sent to" followed by your colleague's address. In the table, they show up with the status "Invited".
If the website can't send emails yet, a note about it appears below the form, but you can invite anyway. How to make it send: How to get your website's requests and appointments by email. After Send Invitation you see a link, valid for 7 days:
- Click Copy Link.

- Send the link to your colleague yourself, on WhatsApp or by email.
What your colleague does
- They open the email "Invitation to the ... website's admin panel" and click the link (or the one you sent them on WhatsApp). It's good for 7 days.
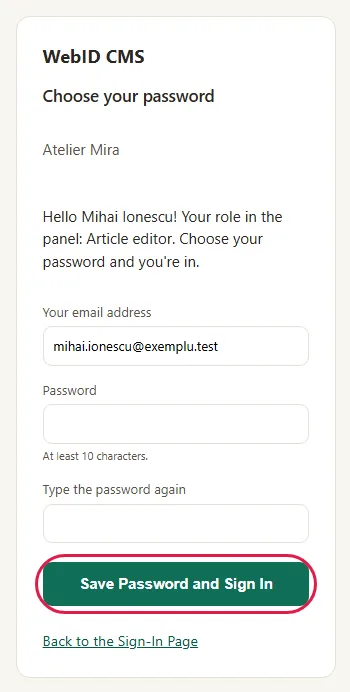
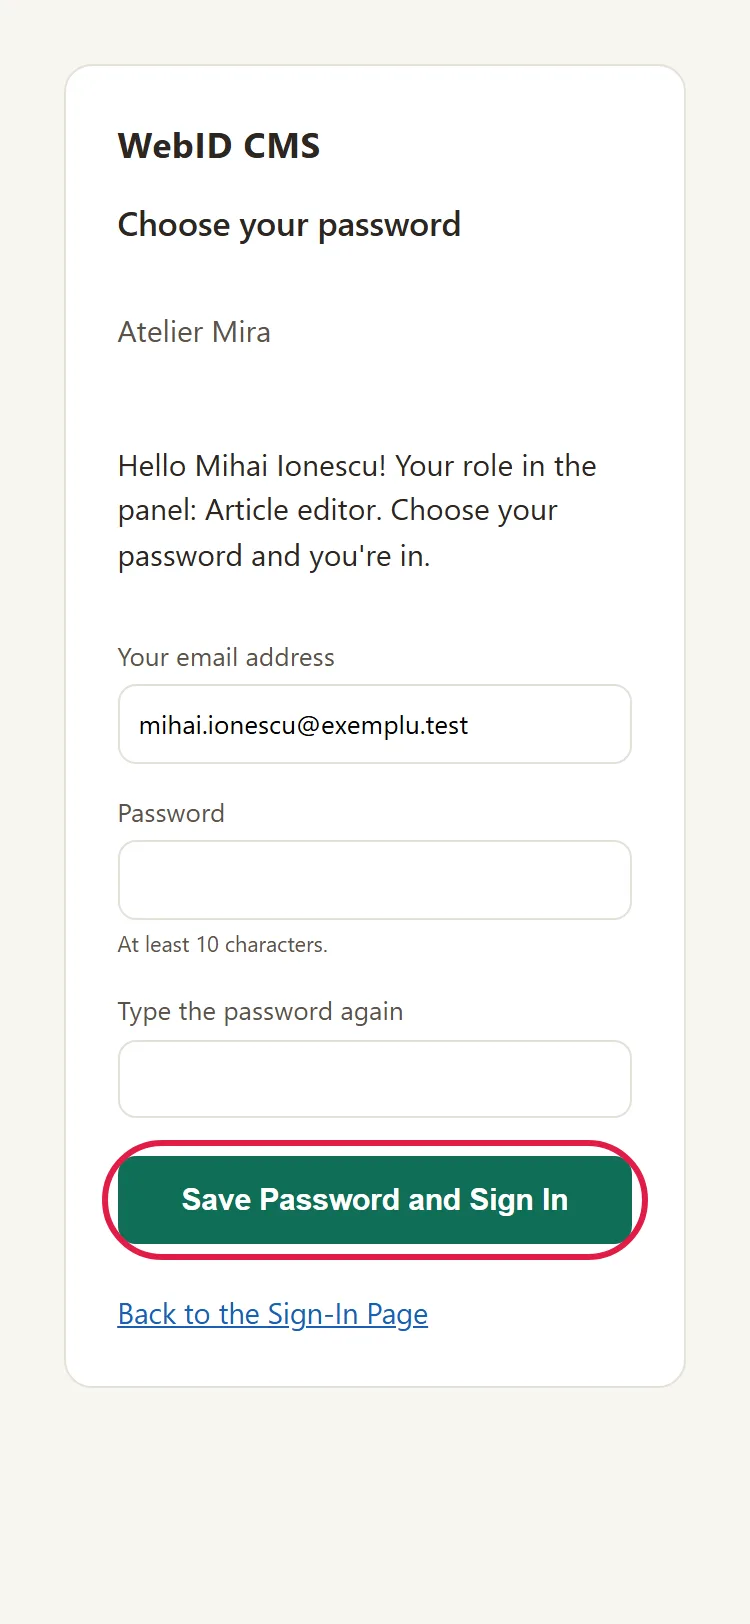
- On the "Choose your password" page, they type a password of at least 10 characters in Password.
- They type it once more in Type the password again.
- They click Save Password and Sign In and land directly in the admin panel. In your table, their status becomes "Active".
- Next time, they go to the website address followed by /admin/ (for example your-business.ro/admin/), fill in Email address and Password and click Sign in.
In the top bar, next to Log out, your colleague sees their name and role. They change their password themselves from "My Account", where they can also turn on two-step verification.
How to change a colleague's role
- In the table, on your colleague's row, choose another role from the list in the Role column.
- You see the message "The role has been changed." The change takes effect immediately, even if they're in the admin panel at that moment.
- If you have the Bookings add-on, the new role applies in the bookings panel from the next time they enter it from the admin panel.
What to do if the invitation expired
- On your colleague's row, with the status "Invitation expired" (after 7 days) or "Invited", click Send Again. Your colleague gets a new link, and the old one no longer works.
How to remove the account of someone who's leaving
- Click ✕ (Remove) on their row.
- Read the question "Remove ...'s account? They will no longer be able to sign in. What they did so far stays in the history." and click Remove.
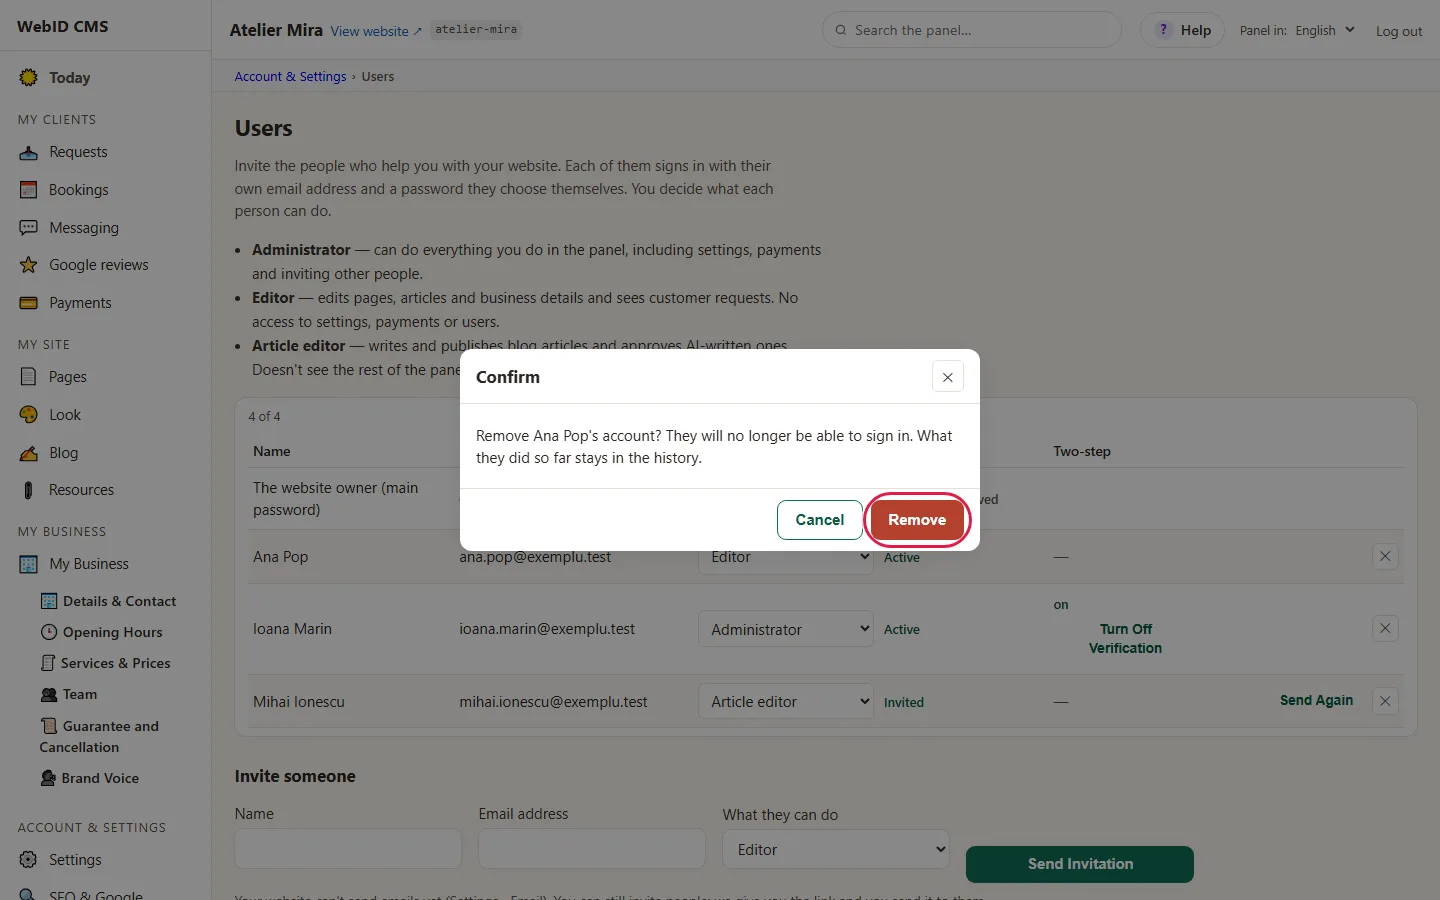
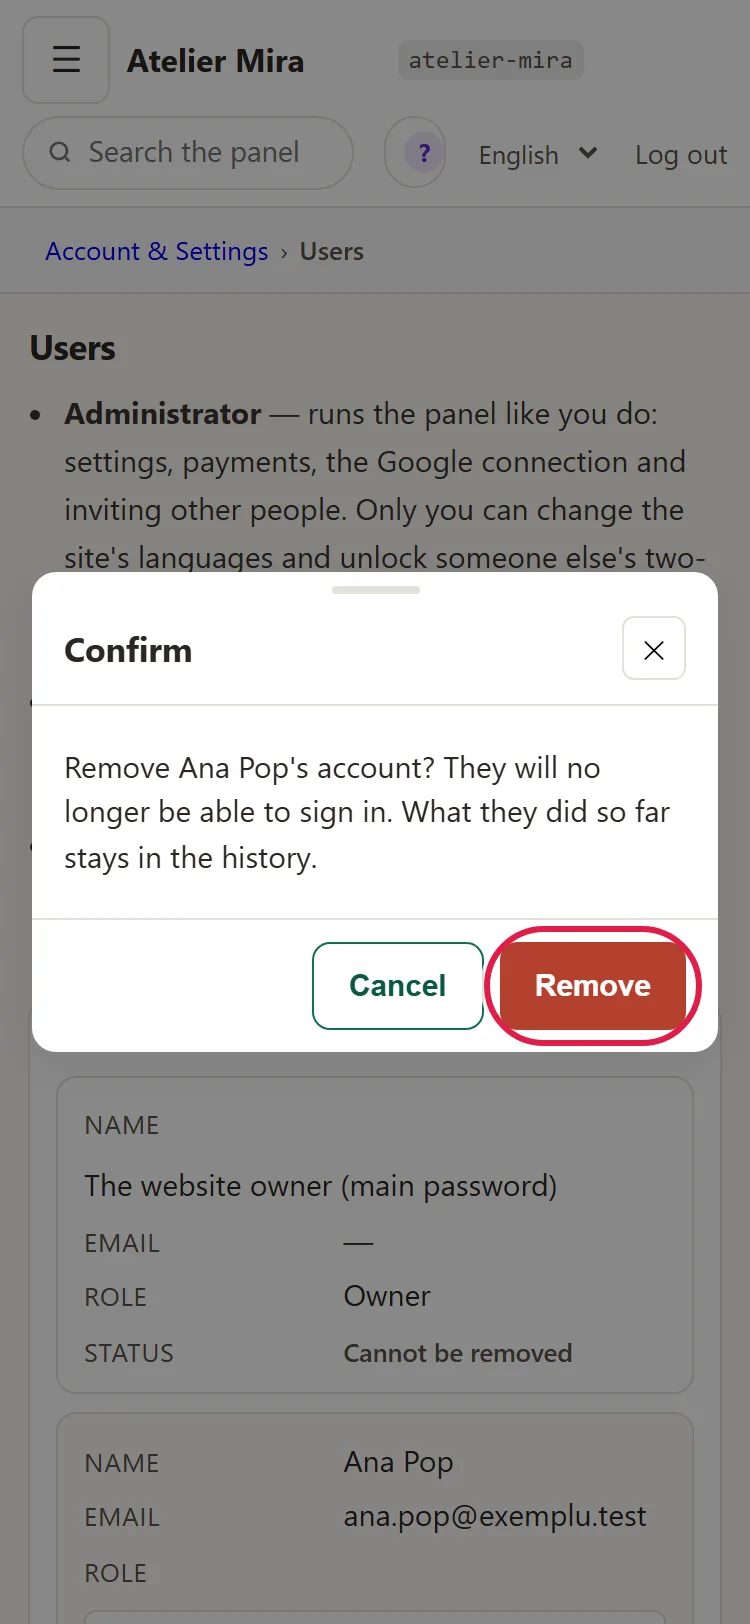
- You see the message "The account has been removed." From their next click, the person no longer has access.
- If you have the Bookings add-on, they can't enter the bookings panel either, because it's entered from the admin panel.
How to see who did what
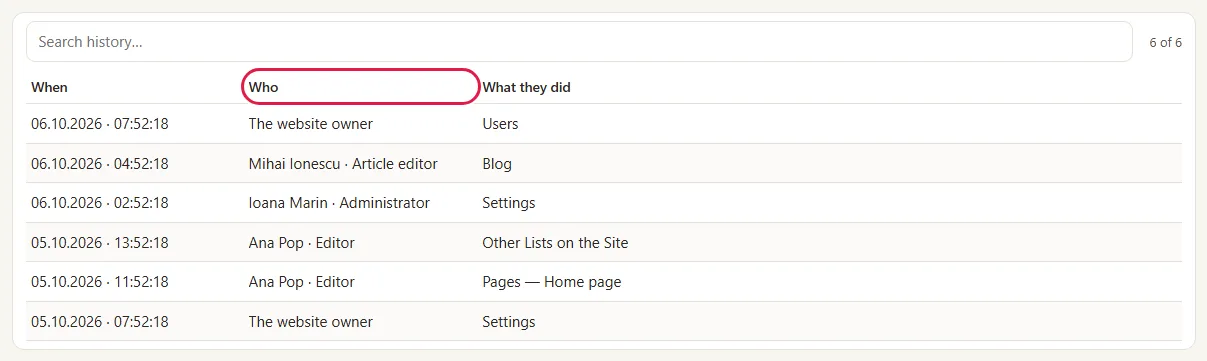
- Below the form, click See Who Did What in the Admin Panel →.
- You land in "History" › "Who did what": for every save you see when, who and on which screen.
What to do when a colleague loses the phone with the code
You see the Turn Off Verification button only when you've signed in with the main password and your colleague has two-step verification turned on.
- Call them and make sure you're really talking to them.
- In "Users", in your colleague's Two-step column, click Turn Off Verification.
- The window shows you their security question (not the answer). Ask them the question on the phone and type their answer in The answer the account holder gave.
- Click Check the Answer and Turn Off Now. Verification turns off on the spot, and your colleague gets an email.
- If they have no question or don't remember the answer, click Turn Off in 24 Hours. Verification turns off after 24 hours, and your colleague gets an email with which they can cancel it, if they weren't the one who asked.
- After it's off, your colleague signs in with the password only and turns verification on again, on the new phone.
After 5 wrong answers in 24 hours, only the 24-hour option is left.
Common problems
- "My colleague didn't get the invitation." It's in Spam or the website can't send emails. Click Send Again (the link sent before no longer works); if the box with the link appears, send it to them yourself.
- "I see: There is already an account with this address." The person is already in the table. Click Send Again, if they're invited, or change their role.
- "The invitation link no longer works." 7 days have passed or you resent it in the meantime. Click Send Again.
- "My colleague doesn't see Settings or Payments." They have the Editor role. Change their role to Administrator, if you want them to see these: then they also see the subscription, invoices and "Users".
- "My colleague only gets to Blog." They have the Article editor role. That's normal.
- "My colleague's admin panel disappeared." If they changed their password on another device, tell them to sign in again. If you removed their account, invite them again. If you changed their role, they see only what the new role allows.
- "My colleague forgot their password." Tell them to click Forgot Password? on the sign-in screen; the steps are in How to change your admin panel password and what to do if you forgot it.
- "Something else isn't working." Write to us at contact@webid.ro with what you see on the screen and we'll take a look.
What it doesn't do
- Your owner account can't be removed and its rights can't be reduced. You can't hand ownership of the website to someone else from the admin panel.
- You can't create your own roles or give rights to certain pages only: an Editor can change any page.
- A colleague's email address can't be changed. You remove their account and invite them again, with the new address.
- The invitation email goes out in the language of your admin panel, not your colleague's language.
- An Administrator can't add a new language to the website. Only you, with the main password.
What data it uses
For each invited colleague we keep on the website's server their name, email, role and a hash of their password. What they do in the admin panel goes into the "Who did what" log, for 12 months, even after you remove their account; we process these on your behalf - see DPA §3, the "Website + hosting" row, and §6. Tell your colleagues the log exists: for their data, you are the controller.