How to write blog posts with AI: start the article, read it, approve it
The AI never publishes anything on its own: every article it writes reaches you as a "To approve" draft. You choose the topic, the AI writes the article in a few minutes, and you read it, approve it and publish it or schedule it. The steps for articles can be done by the owner, an administrator, an editor or an article editor. Automatic writing and email notifications can only be set by the owner or an administrator.
What Blogging Plus solves
A blog with new articles can put you in front of more people on Google, but writing takes time you don't have. With Blogging Plus, our AI writes articles about your business for you; you read them and approve them. What you get and what it costs is on the Blogging Plus services page.
What you need first
- The Blogging Plus add-on turned on. Without it, the buttons have a padlock and open the offer.
- Credits: you get them every month, based on the tier you chose.
- For versions in your website's other languages: the Multilingual website add-on.
- For posting on Google: your Google profile connected (it comes with Visibility).
How to start an article
- In your website's admin panel, open Blog and click Generate with AI.
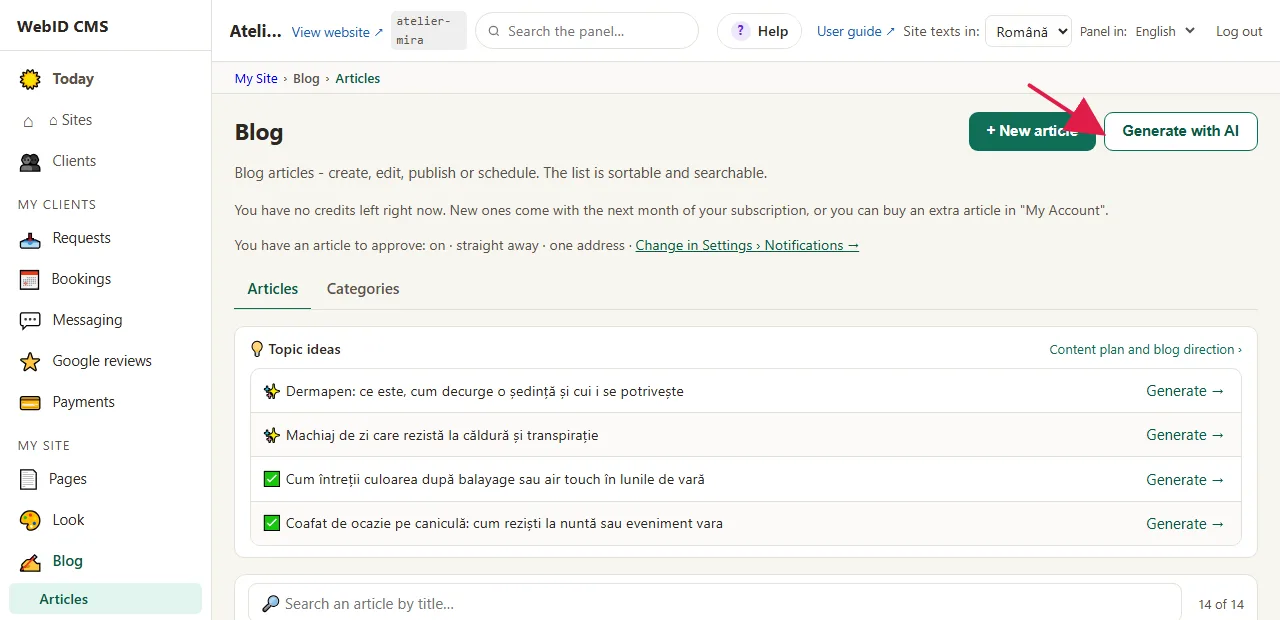
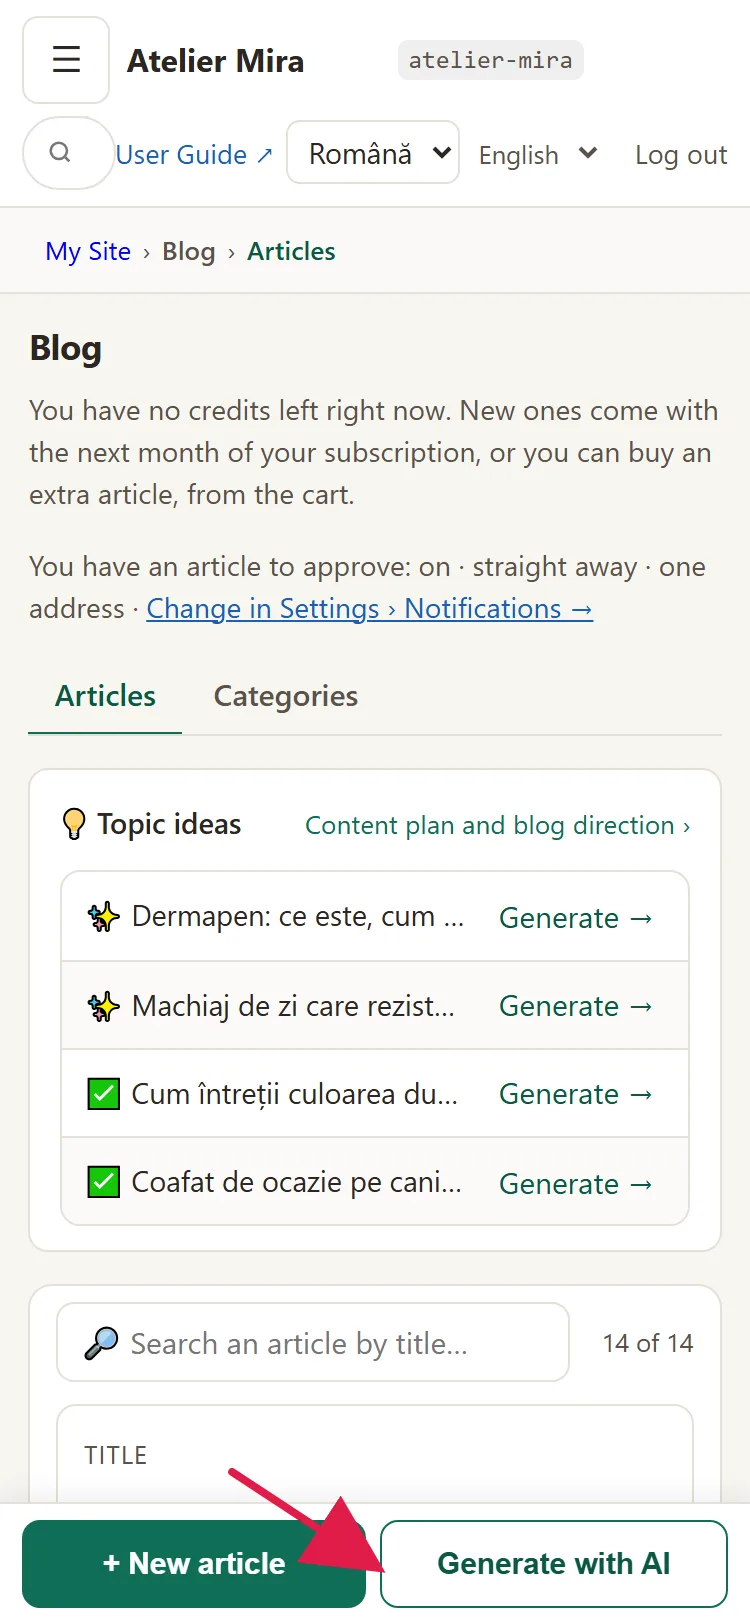
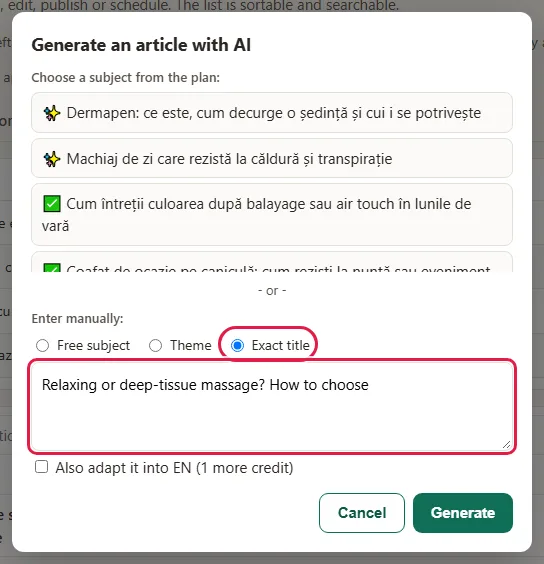
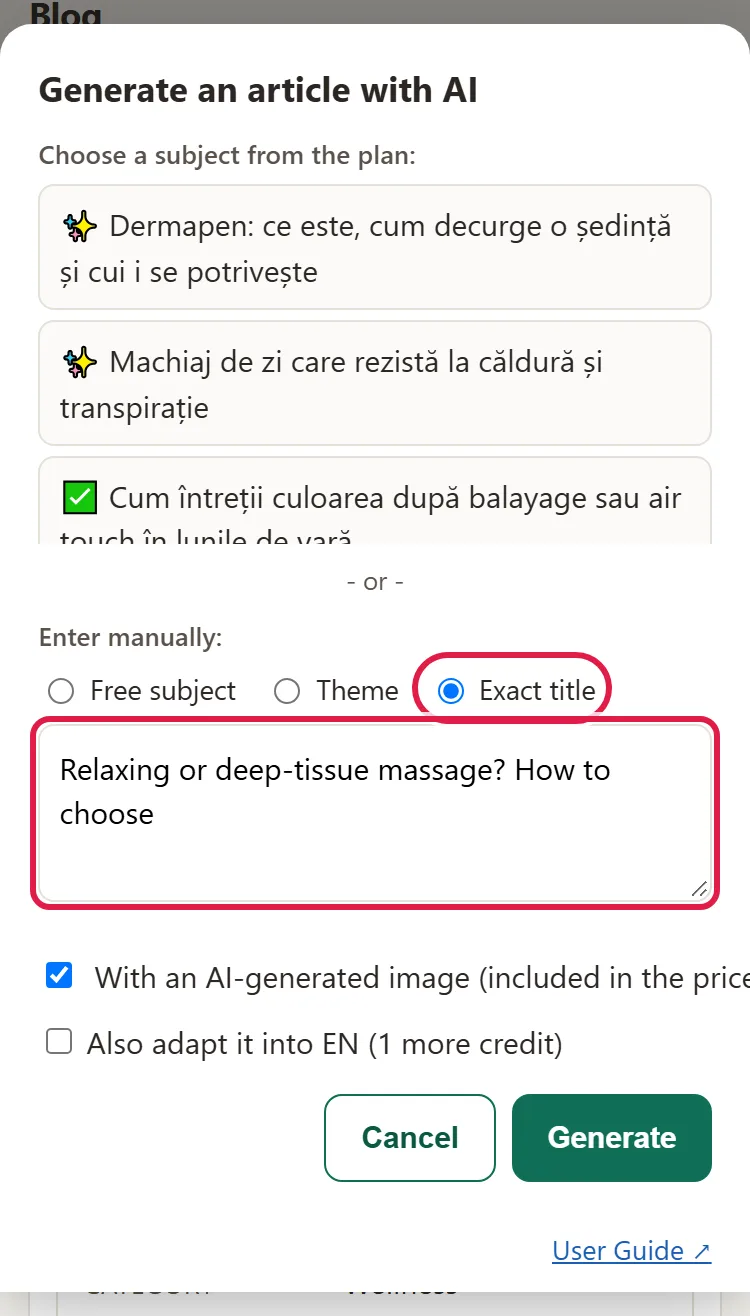
- In the "Generate an article with AI" window, choose the topic. Either click a topic under Choose a subject from the plan:, or type your own under Enter manually:.
- If you type it yourself, choose the type: Free subject (you describe what it should be about), Theme (a broad theme, from which the AI makes a specific article) or Exact title (the title stays exactly as you typed it).
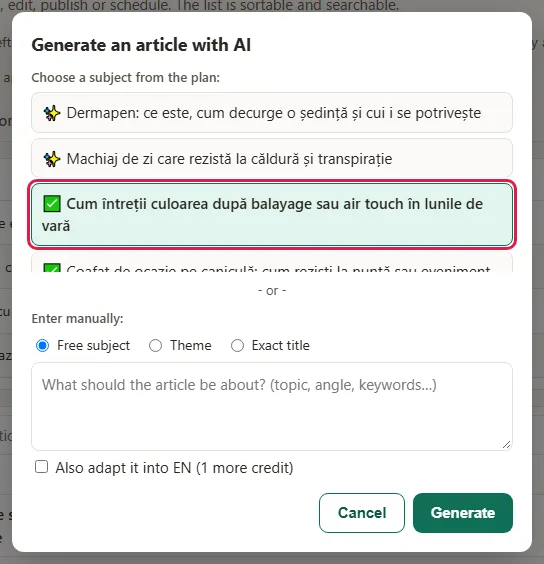
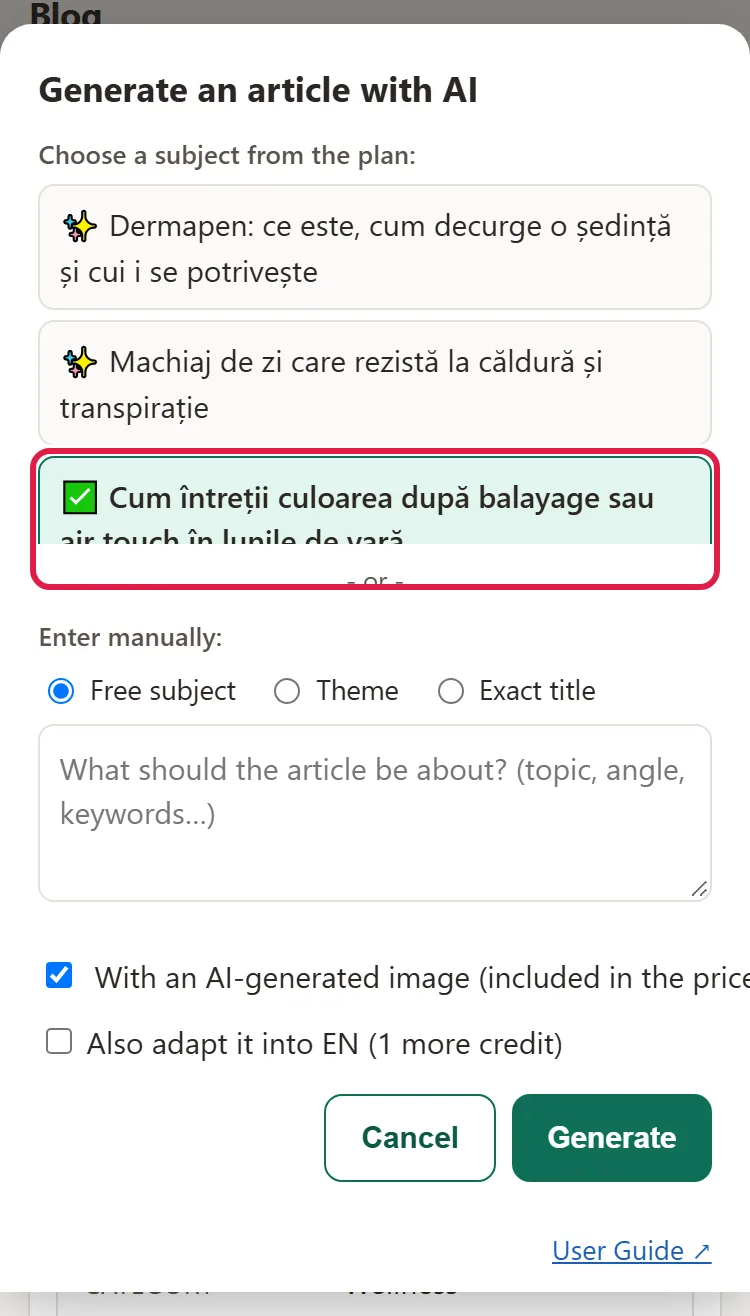
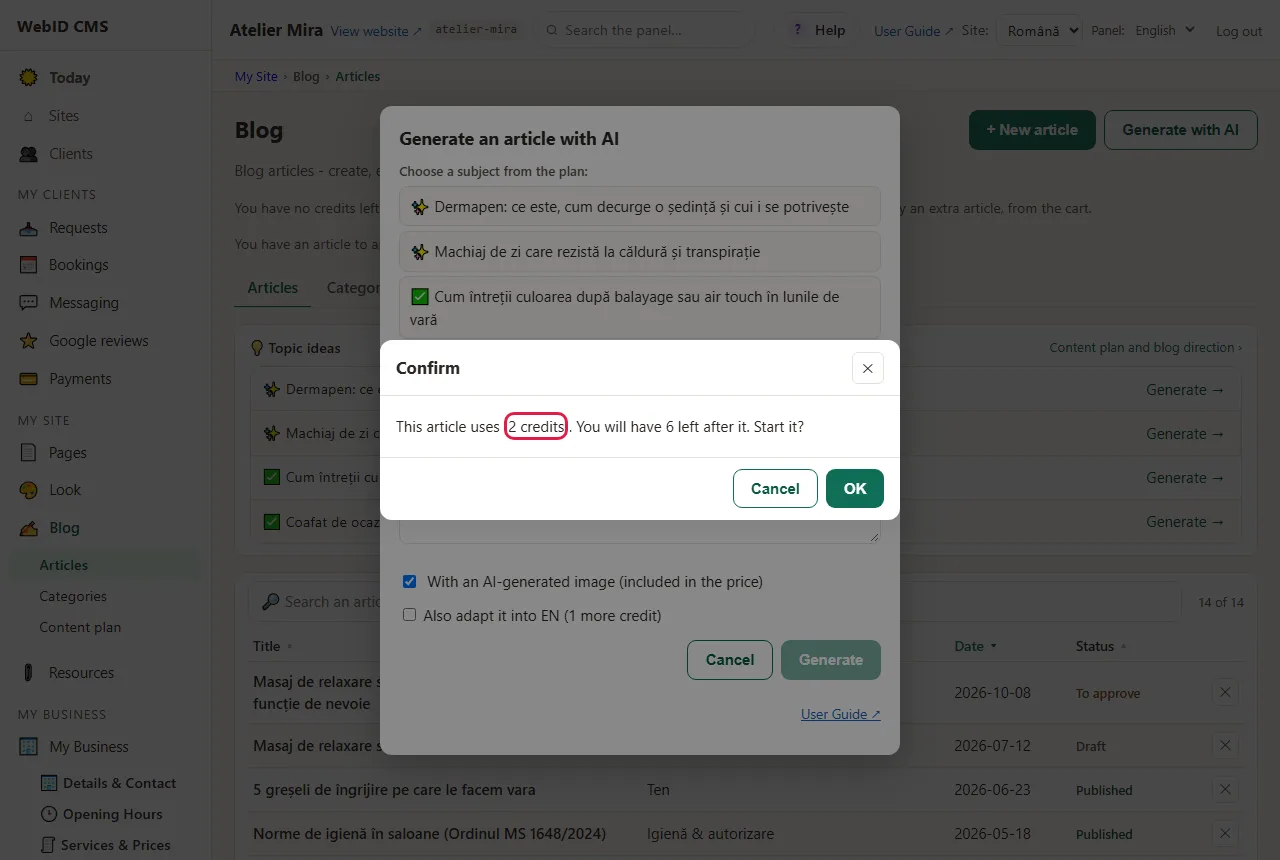
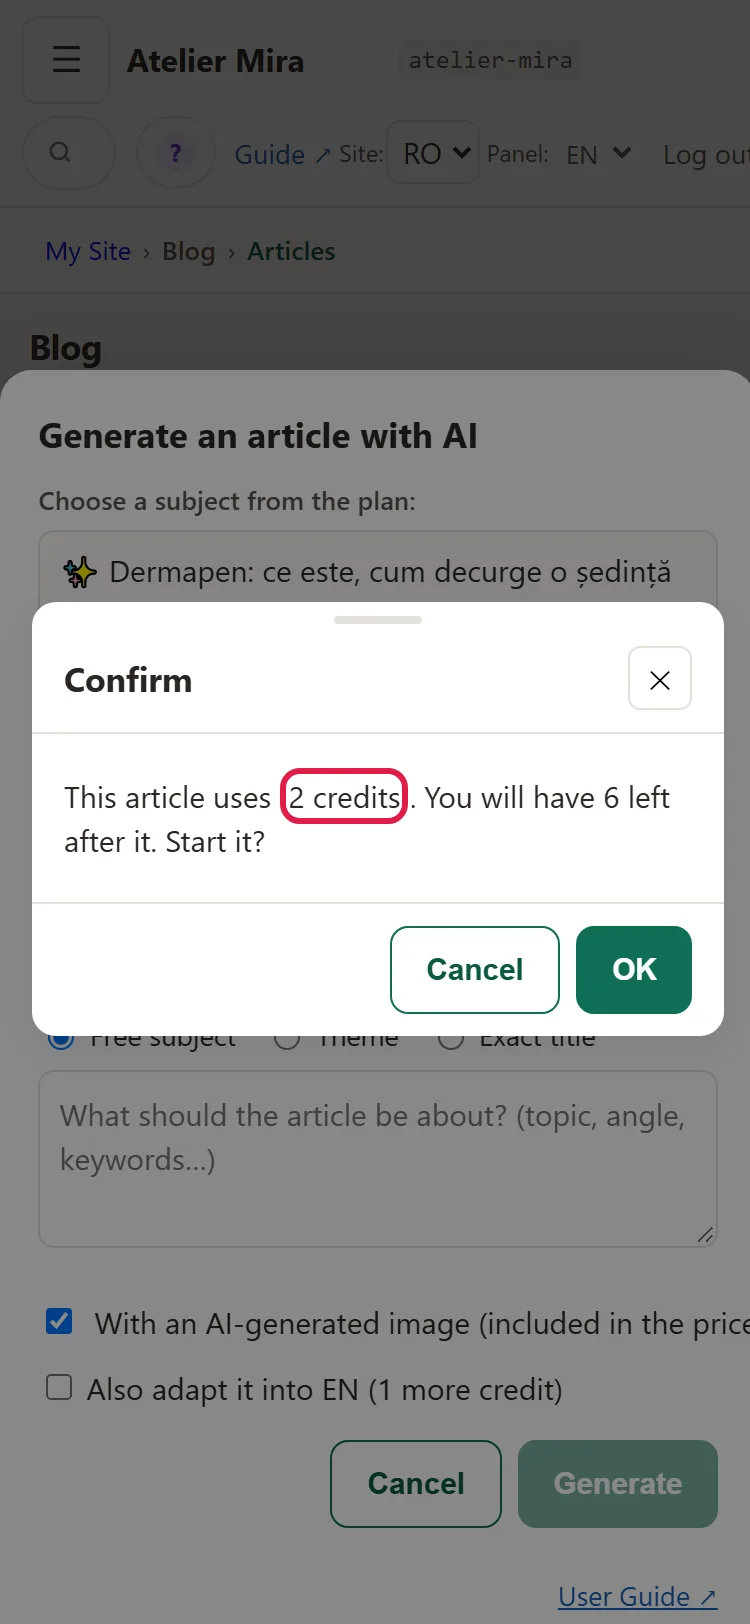
- Click Generate. The "Confirm" window tells you how many credits the article uses and how many you'll have left after it. Click OK to start.
- Watch the bar in the window: "Researching…", "Writing the article…", up to "Done - review and publish". It usually takes a few minutes. You can close the window: the article gets written anyway, and when it's ready you'll find it in the Blog list, with the To approve label.
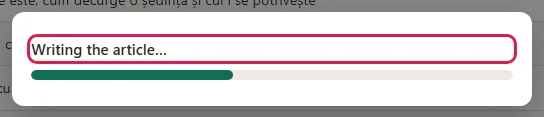
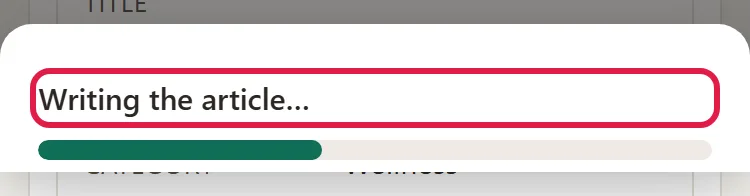
- If you left the window open, at the end you see "The article is written and waiting for you in drafts." The draft opens in the editor.
If you click Cancel at step 4, the article doesn't start and your credits stay untouched.
How to read and approve the article
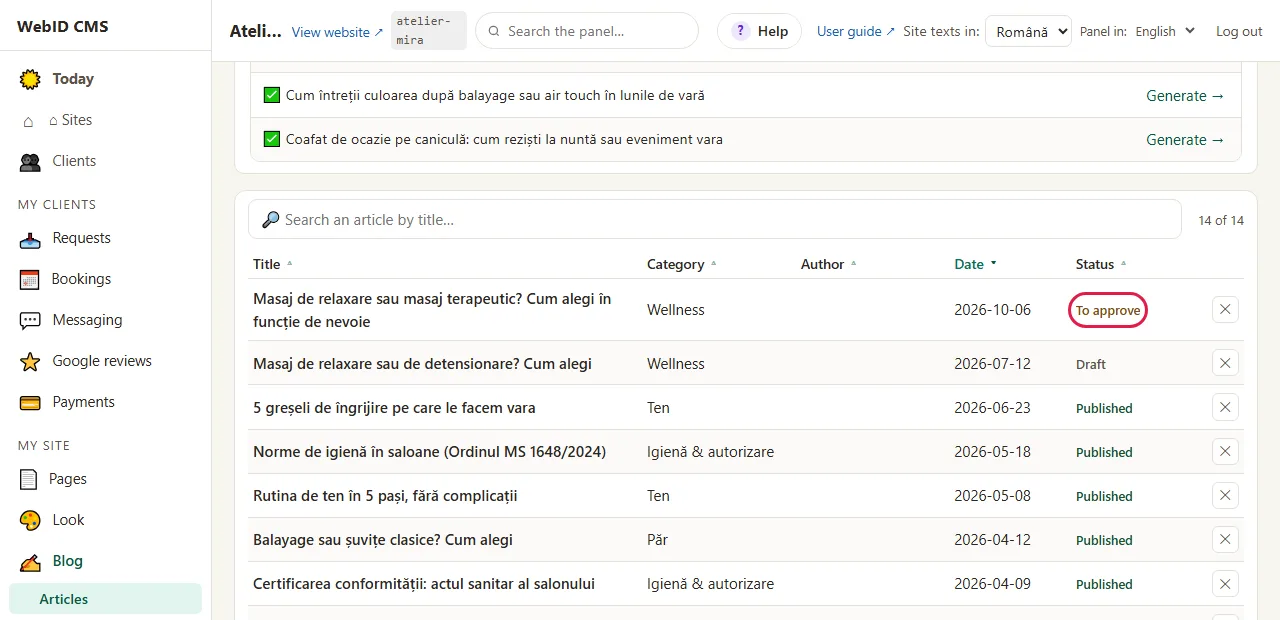
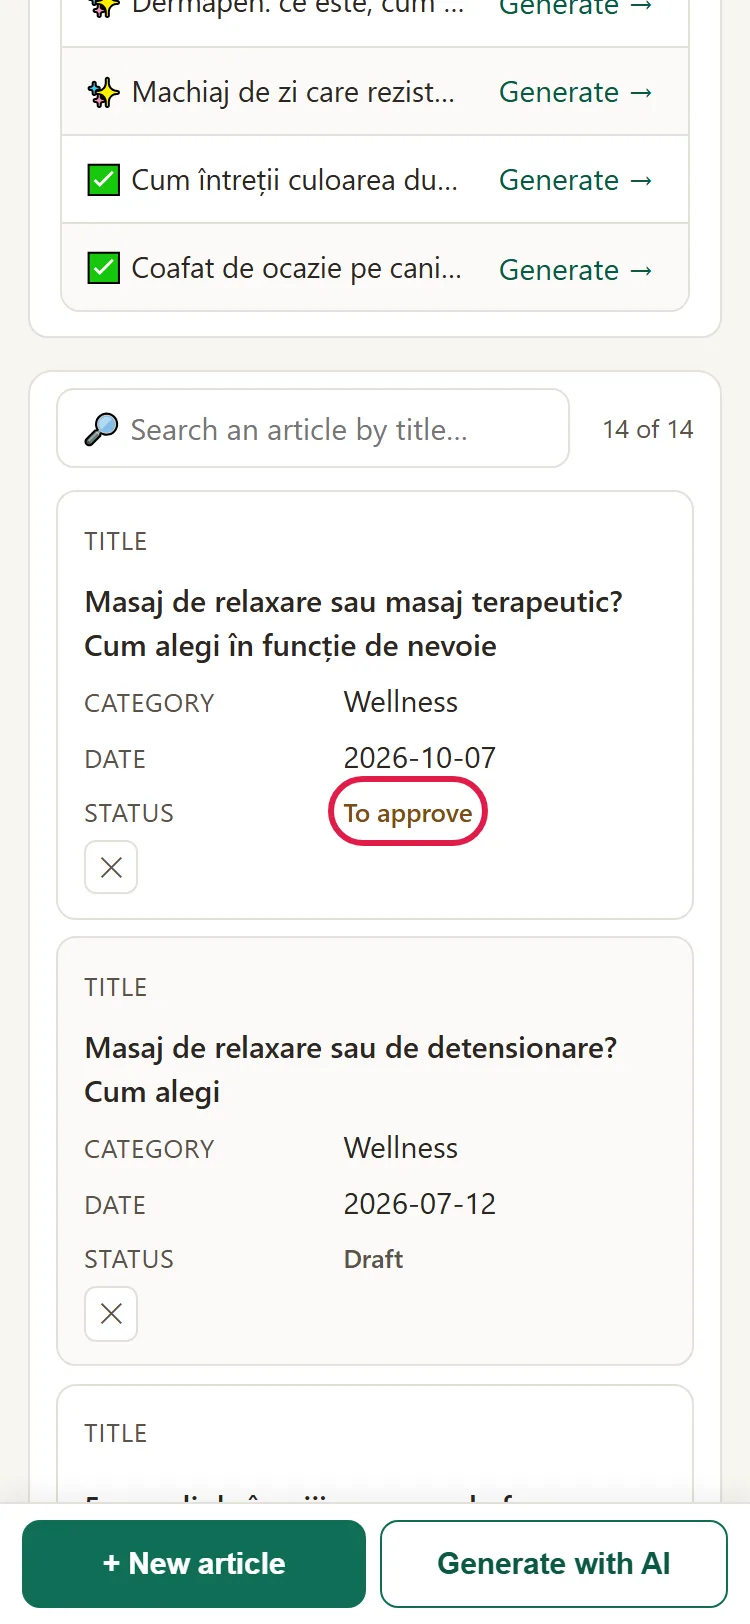
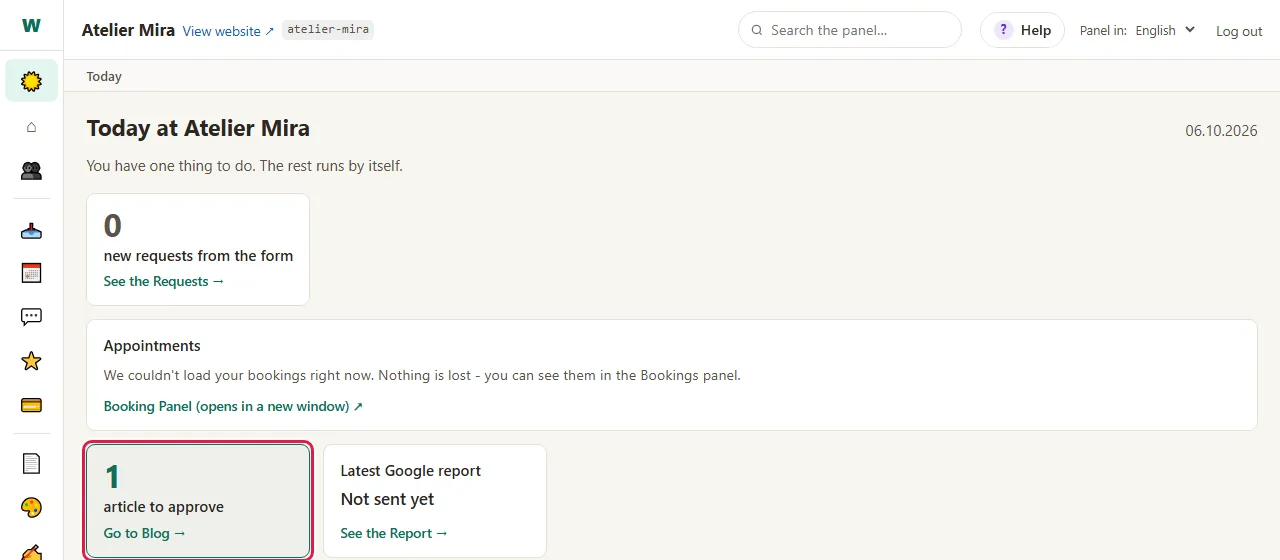
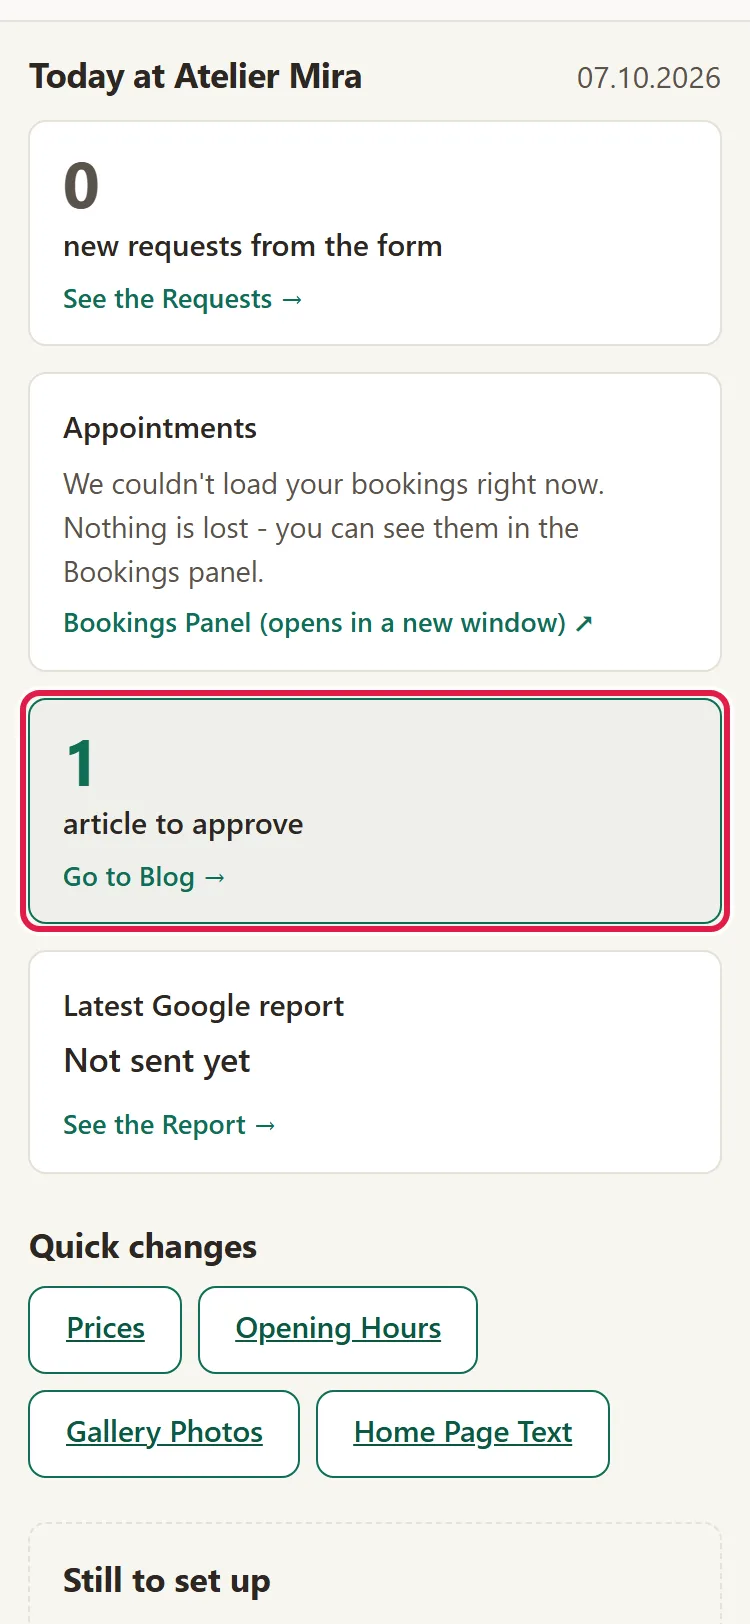
- The article has the To approve label, in the Blog list and in the editor bar. You also see it in "Today", under "articles to approve", with Go to Blog.
- Read the article and change whatever you want in the text. The AI can get a detail about your business, a price or a name wrong: check them before you approve.
- Click I've read it, I approve. Until then, Schedule and Publish now can't be clicked.
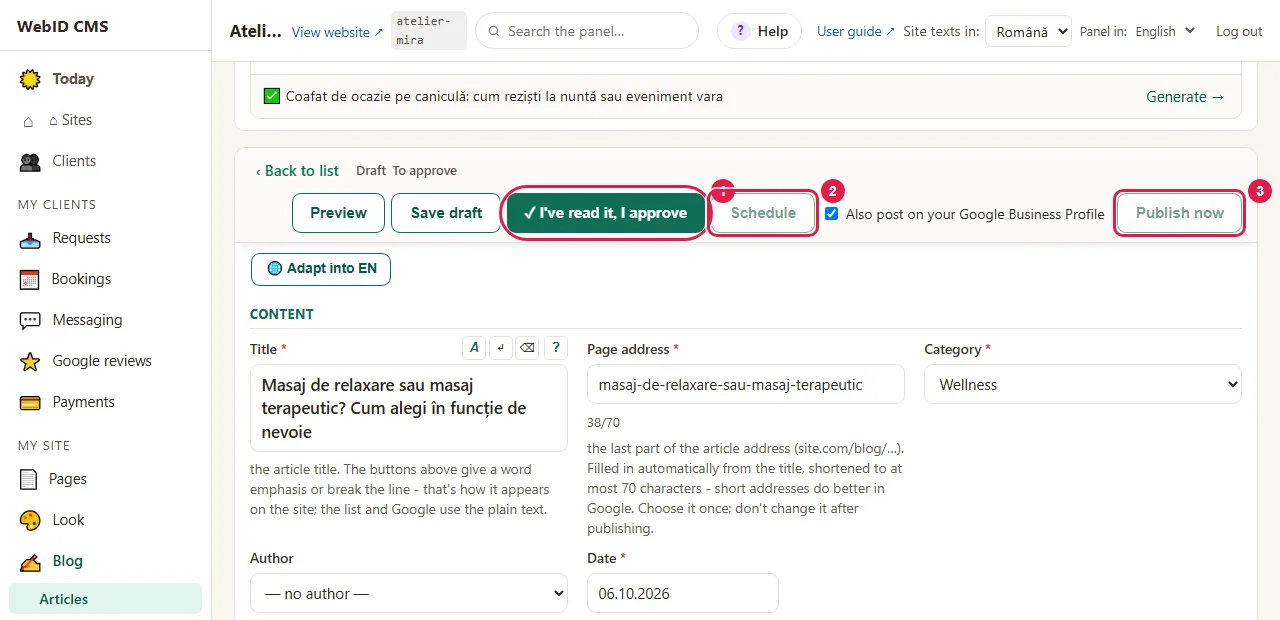
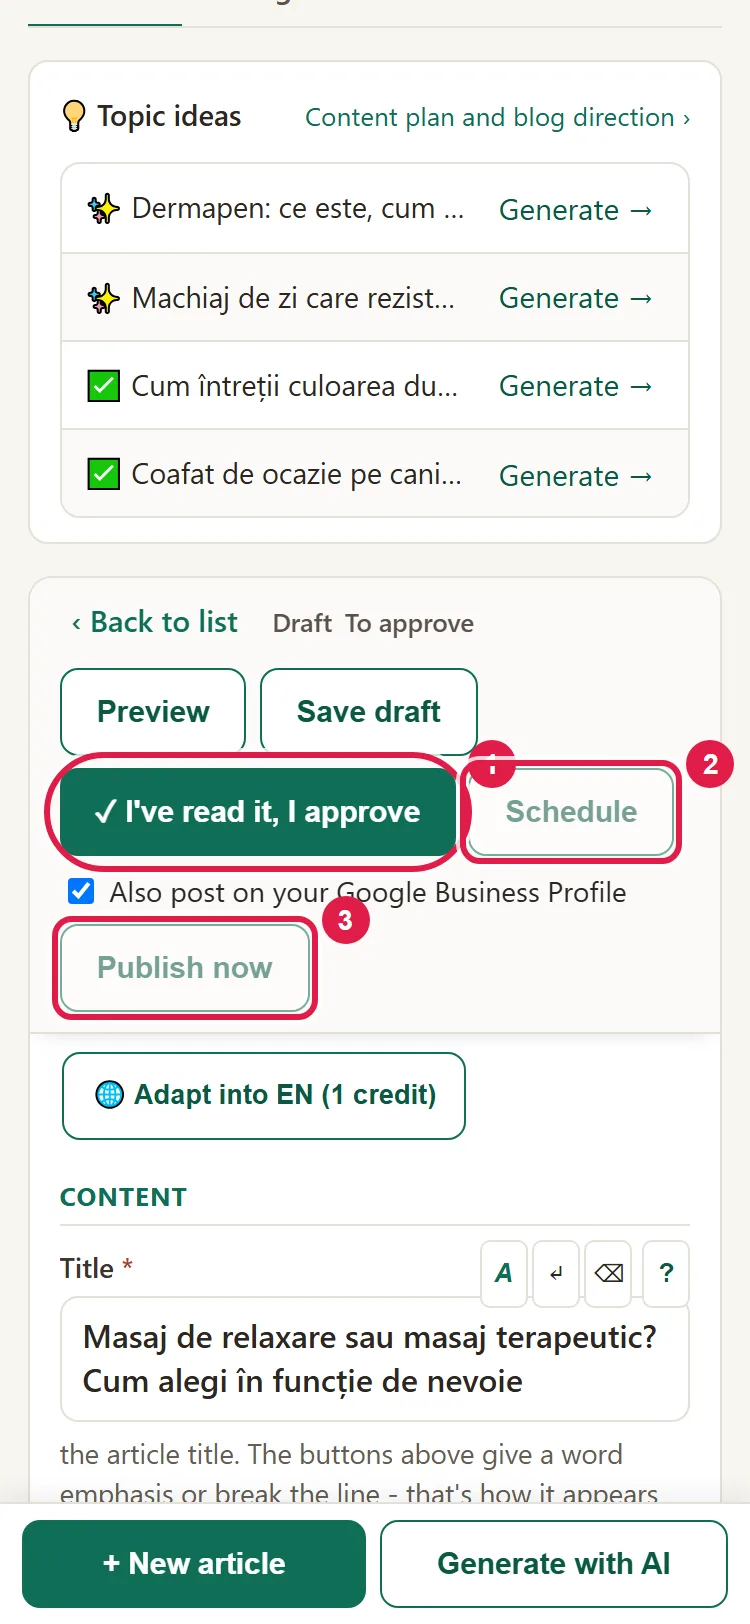
- Choose what to do with it: Save draft (it stays a draft), Publish now or Schedule (you type the date and time, for example "2026-12-25 09:30").
- If you have your Google profile connected, the Also post on your Google Business Profile box is already checked. The Google post goes out together with the article, whether you click Publish now or schedule it with Schedule. Uncheck the box if you don't want it.
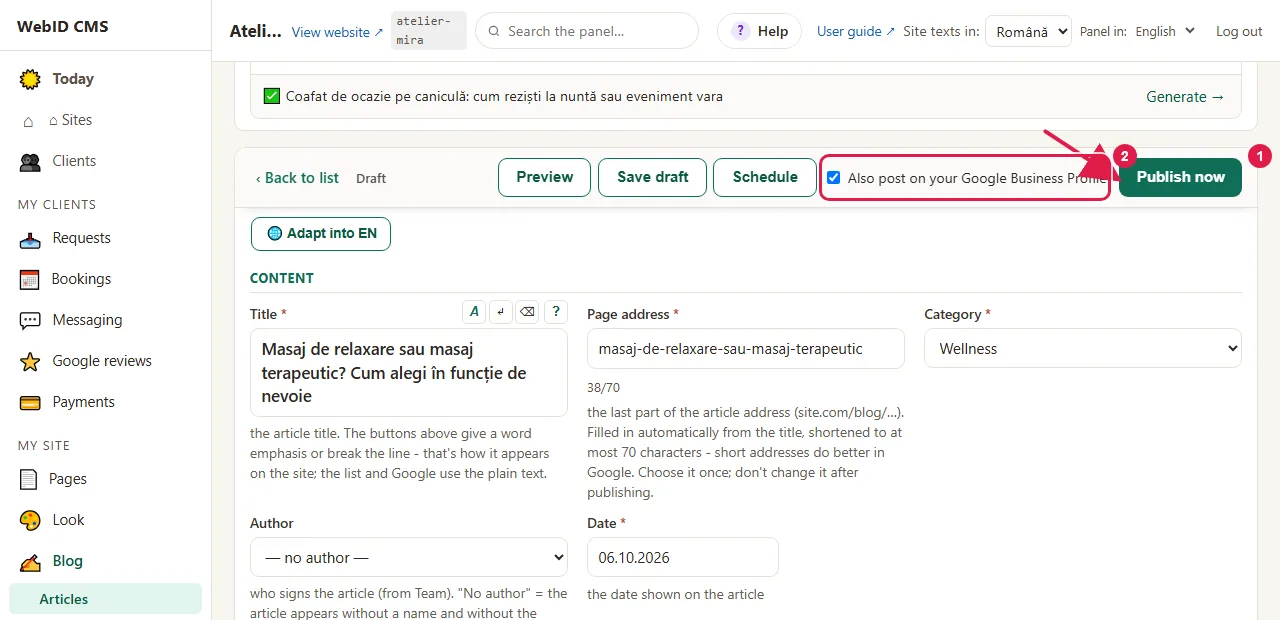
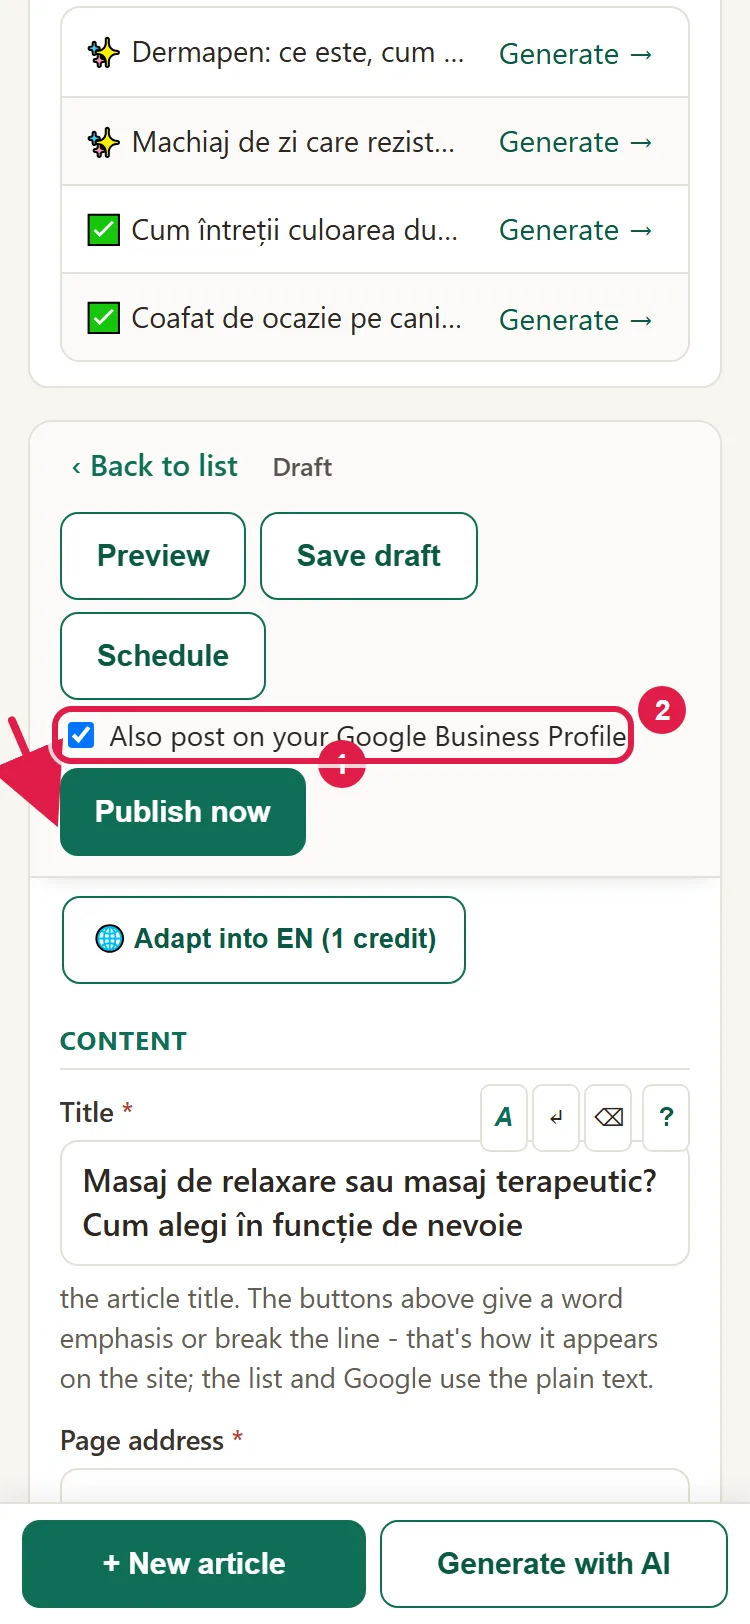
A scheduled article publishes on its own, at the chosen time or on the first visit to your website after it.
Under an AI-generated image, the Show under the image: "AI-generated image." box is checked from the start. Leave it that way if anyone might think the picture really shows your place, your people or your work: then the European AI law requires you to say so. If the article makes it clear that it's only an illustration, you can uncheck it. Don't give it a caption that presents it as real (for example "from our salon"). If you put your own photo in its place, the note disappears.
How to ask the AI for a change
- On a saved draft, click Request a text change or Request another image (Generate an image, if the article doesn't have one yet).
- Write what you want changed, for example "Make the tone warmer and add an example with a client who comes for the first time."
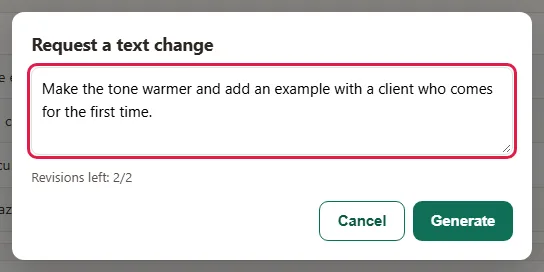
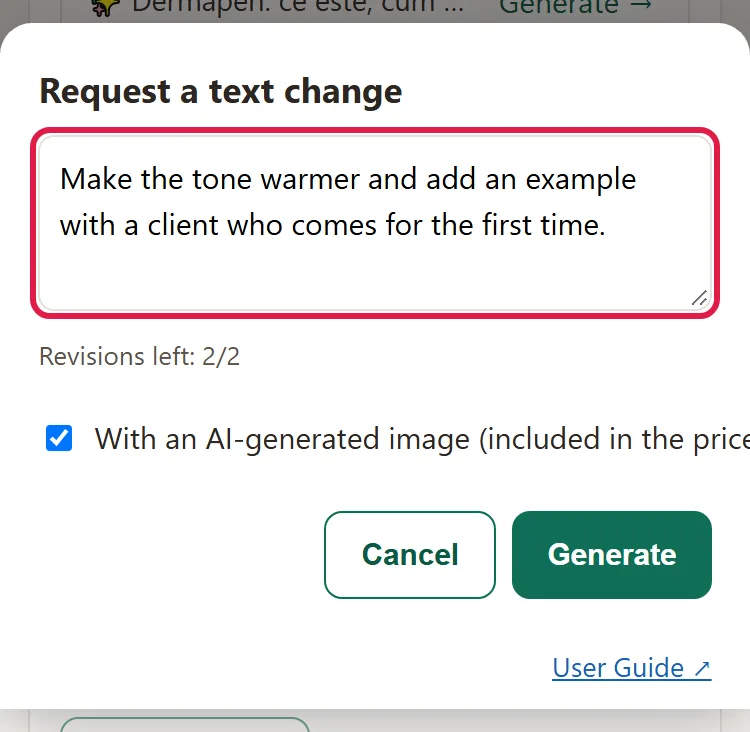
- Send the request. The AI changes what you asked for, on the same article, and the draft goes back to To approve. Read it again before you approve it.
Each article includes 2 text changes and 2 image changes, counted separately; Generate an image also counts as an image change. Once you've used the 2 of one kind, another change of the same kind costs 1 credit (you get it back if it doesn't work out), or you change it directly in the editor, for free.
How to build your topic plan
- In Blog, open Content plan.
- If the plan is empty, click Propose topics for me. The suggestions appear in a few minutes and don't cost credits.
- On each suggested topic, click Approve (it goes into the plan) or Dismiss (it disappears).
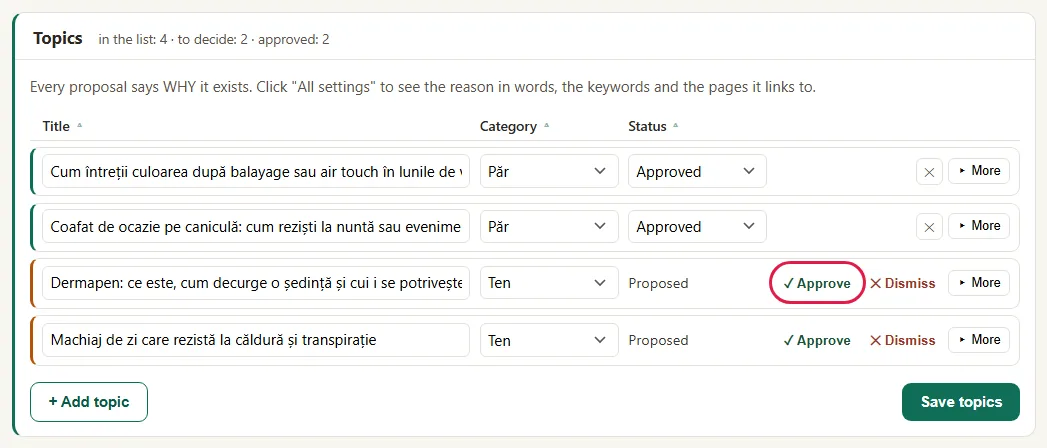
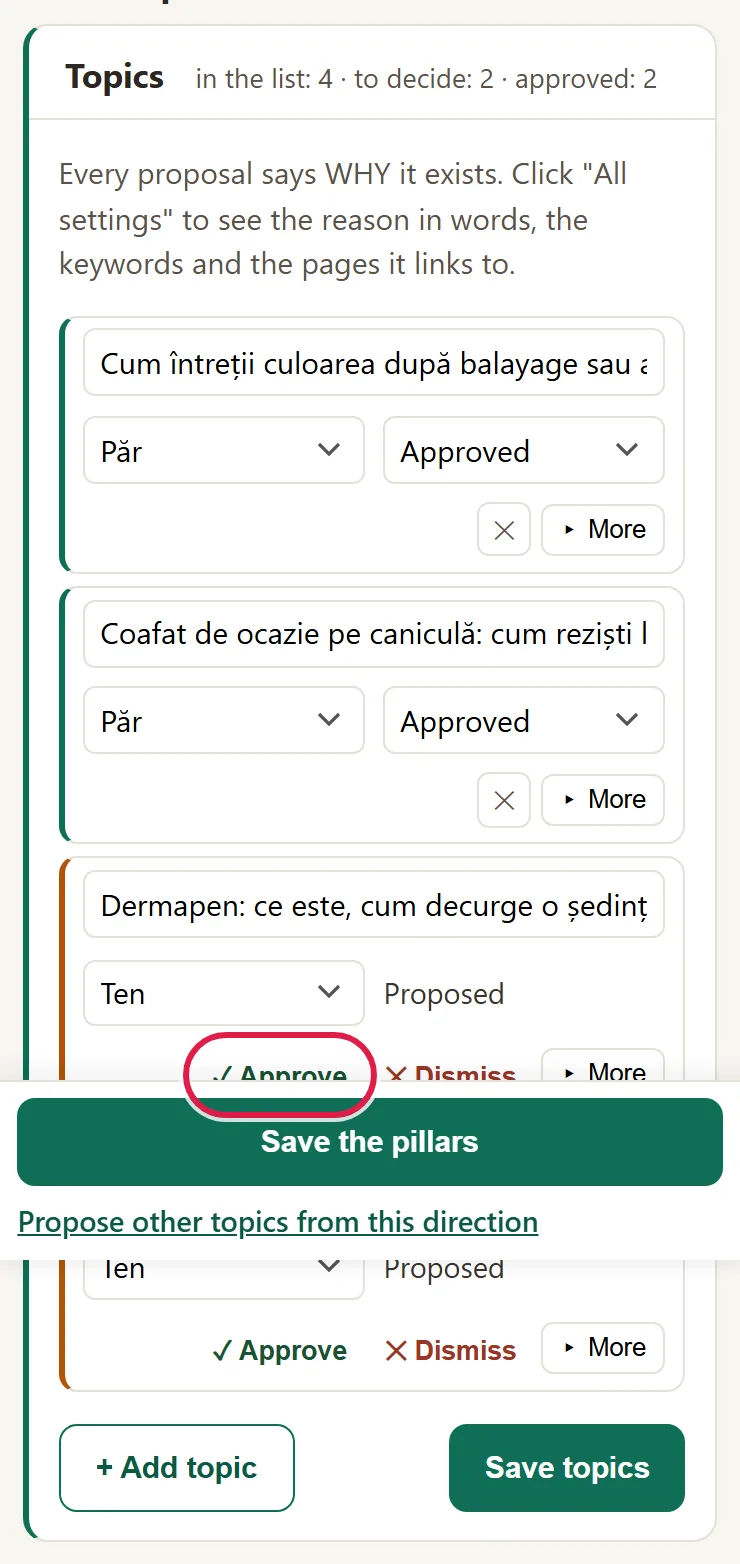
- Want a topic of your own? Click + Add topic, then Save topics.
- Under "The pillars of the plan", write what you want the blog to cover and save. The admin panel asks whether you want new suggestions.
The topics in the plan then appear in the window from "How to start an article", step 2.
How to turn on automatic writing (owner or administrator only)
By default, you start each article yourself. That's what we recommend. If you want articles to be written on their own from the plan:
- In Content plan, turn on the Automatic writing of the articles in your plan switch.
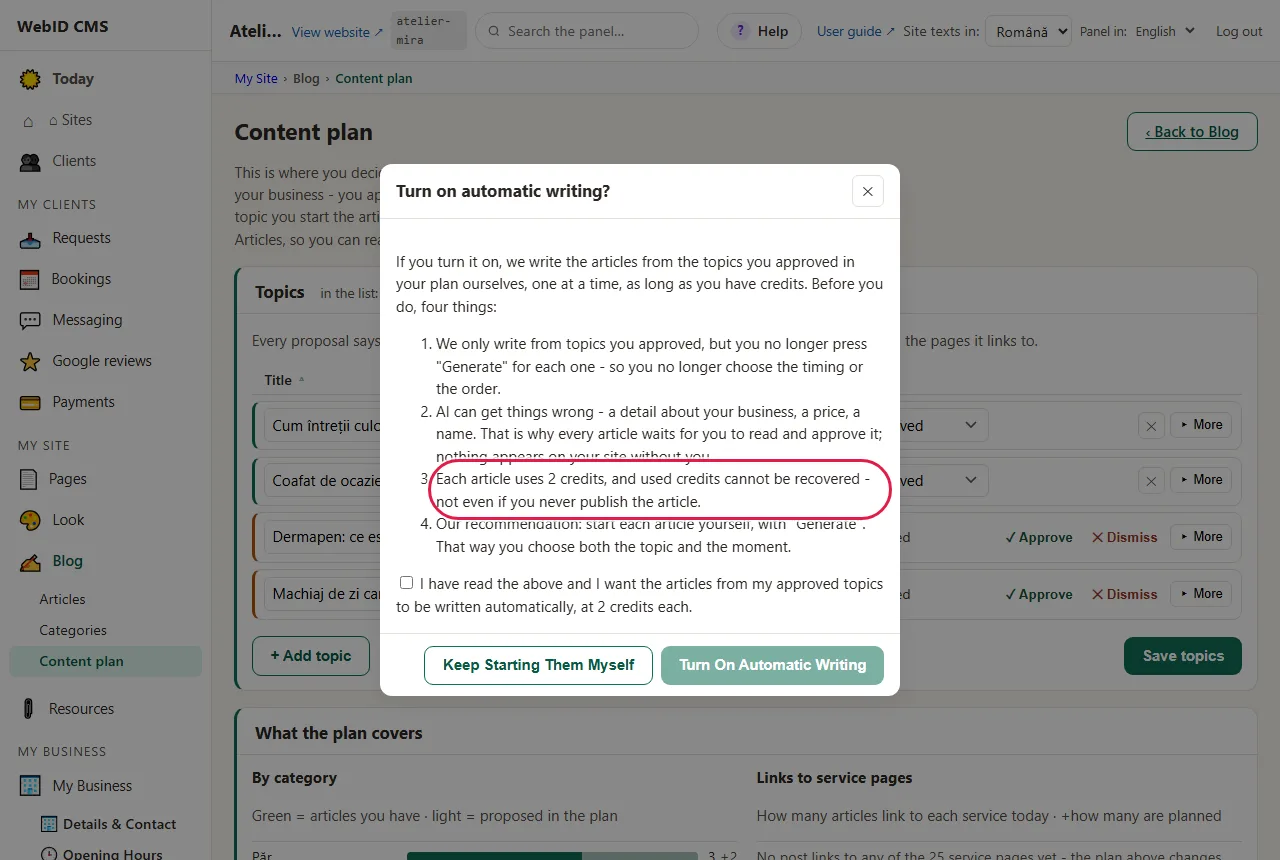
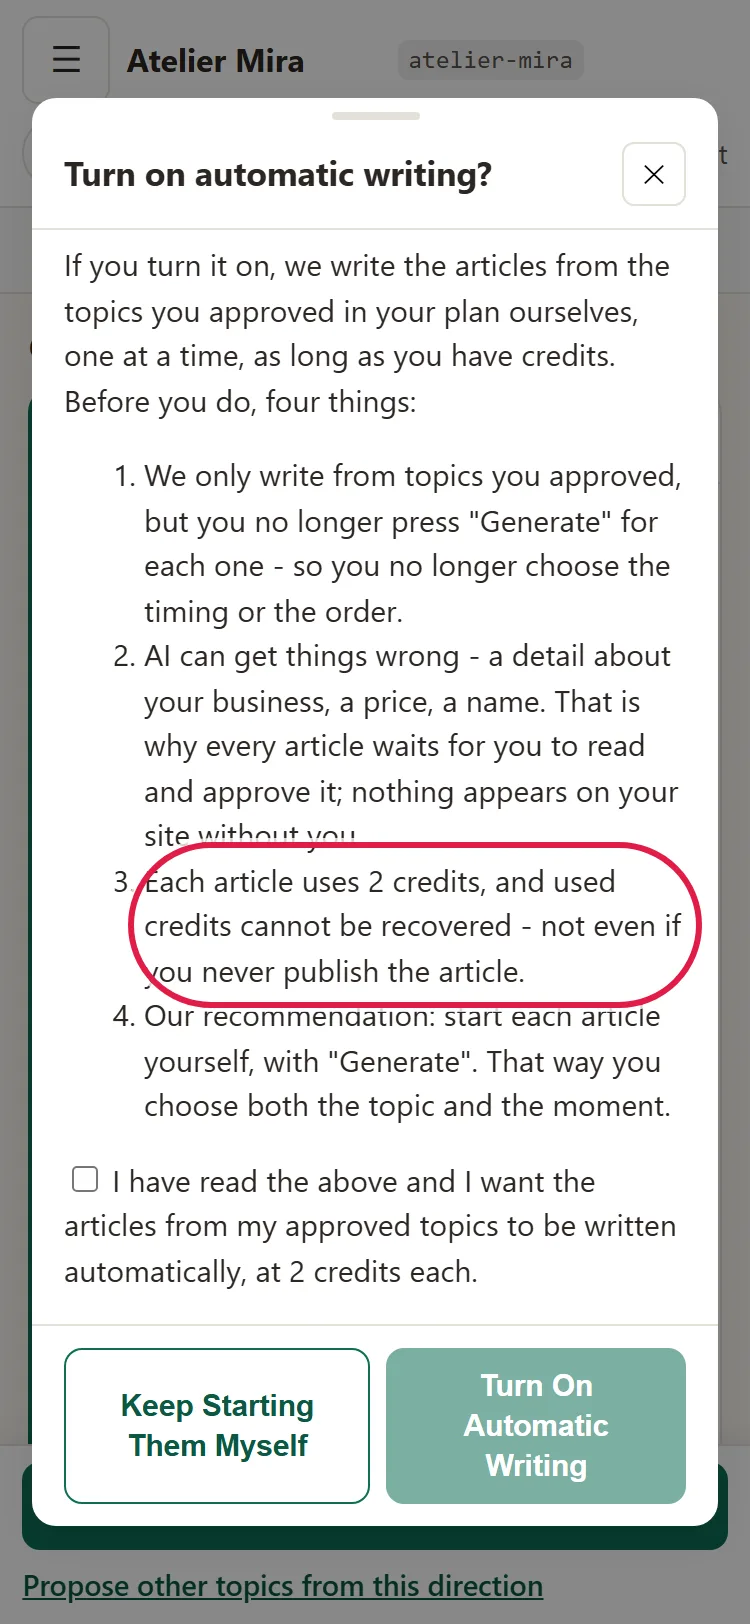
- Read the four points in the window. The most important: each article uses 2 credits, which you don't get back, even if you don't publish it.
- Check the consent box and click Turn On Automatic Writing. If you've changed your mind, click Keep Starting Them Myself.
Articles are written one at a time only from approved topics, as long as your credits last. There's no fixed pace: articles are written one after another, so your balance can run out quickly. If writing an article fails, nothing is taken. Each article still arrives as a To approve draft: only the writing is automatic, never the publishing. To stop automatic writing, turn the switch off; articles already written stay in drafts, to approve.
How to find out when you have an article to approve
- Go to Settings › E-mail Notifications (owner or administrator only). You also get there from the Blog page, with the link to Settings.
- At "You have an article to approve", check the box, choose straight away, daily digest or weekly digest and enter under To: who receives it.

- With "New topics in your blog plan" you get at most one email a month, when the plan has suggestions and no approved topic.
If something didn't come out right when the article was checked, the email tells you what to look at before you approve it.
How credits work
- A new article costs 2 credits, including its image and the image description (what's in the picture, in a few words, for Google and for people who can't see images). In the "Generate an article with AI" window, the With an AI-generated image (included in the price) box is checked; if you uncheck it, the article comes without an image and still costs 2 credits. Translating into another language doesn't use credits: it's done with Page translation. Topic suggestions and the first 2 + 2 changes to each article are free; an extra change costs 1 credit.
- You get 4, 8 or 16 credits a month (2, 4 or 8 new articles, if you don't use them on anything else), based on your tier.
- Unused credits stay valid in the month you receive them and the following two: the ones you get in October can be used until December 31. The oldest are used first. If you stop the subscription, you keep using the remaining credits, each until its own expiry; only the topic ideas stop.
- Credits are used once the article is ready. If writing fails, nothing is taken.
- On the Blog page you see how many credits you have and until when they're valid, for example "Credits available: 6, valid until 12/31/2026." If you have them from different months, the line says how many the oldest are and until when you can use them. You also see them in the confirmation before each article. In "My Account" you also see "Your credits": that's money taken off a payment (for example the deposit or a referral), not credits for articles.
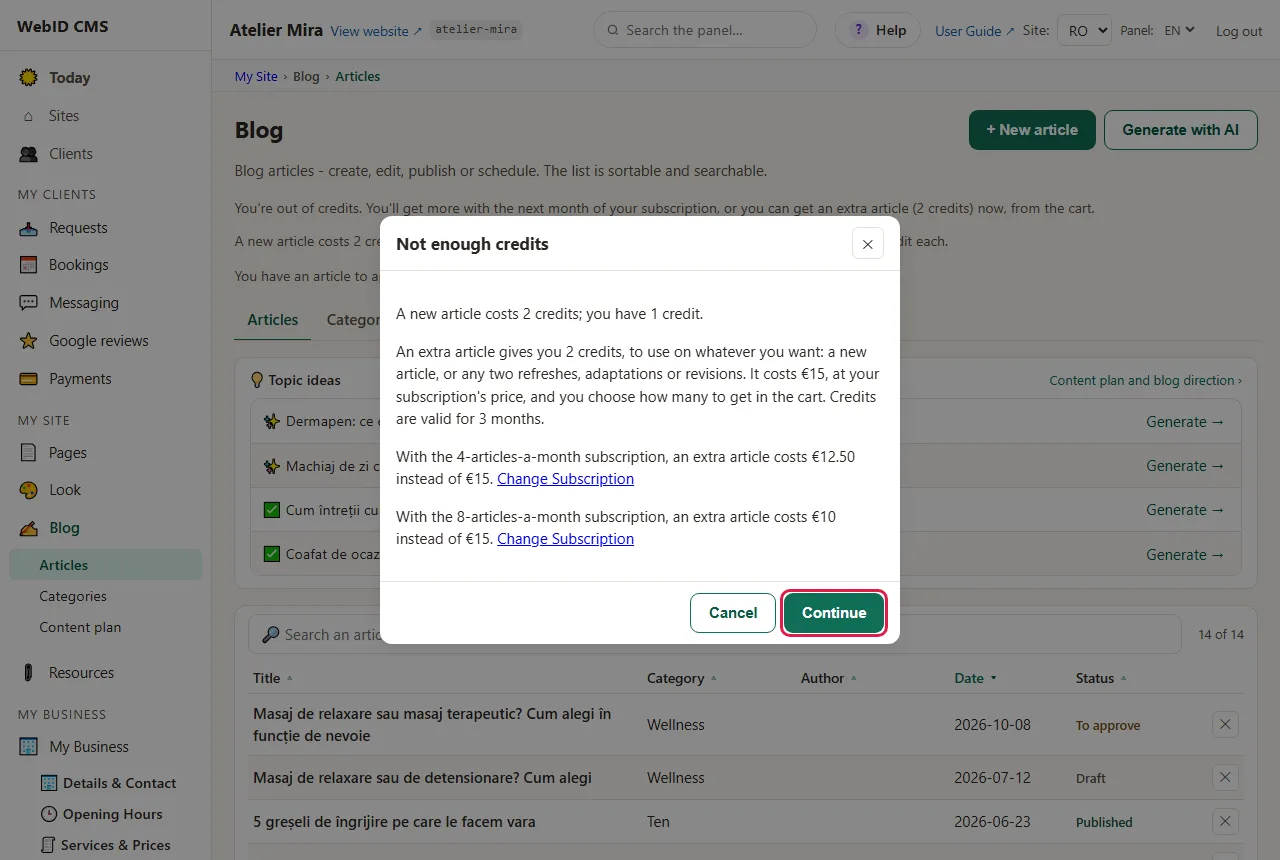
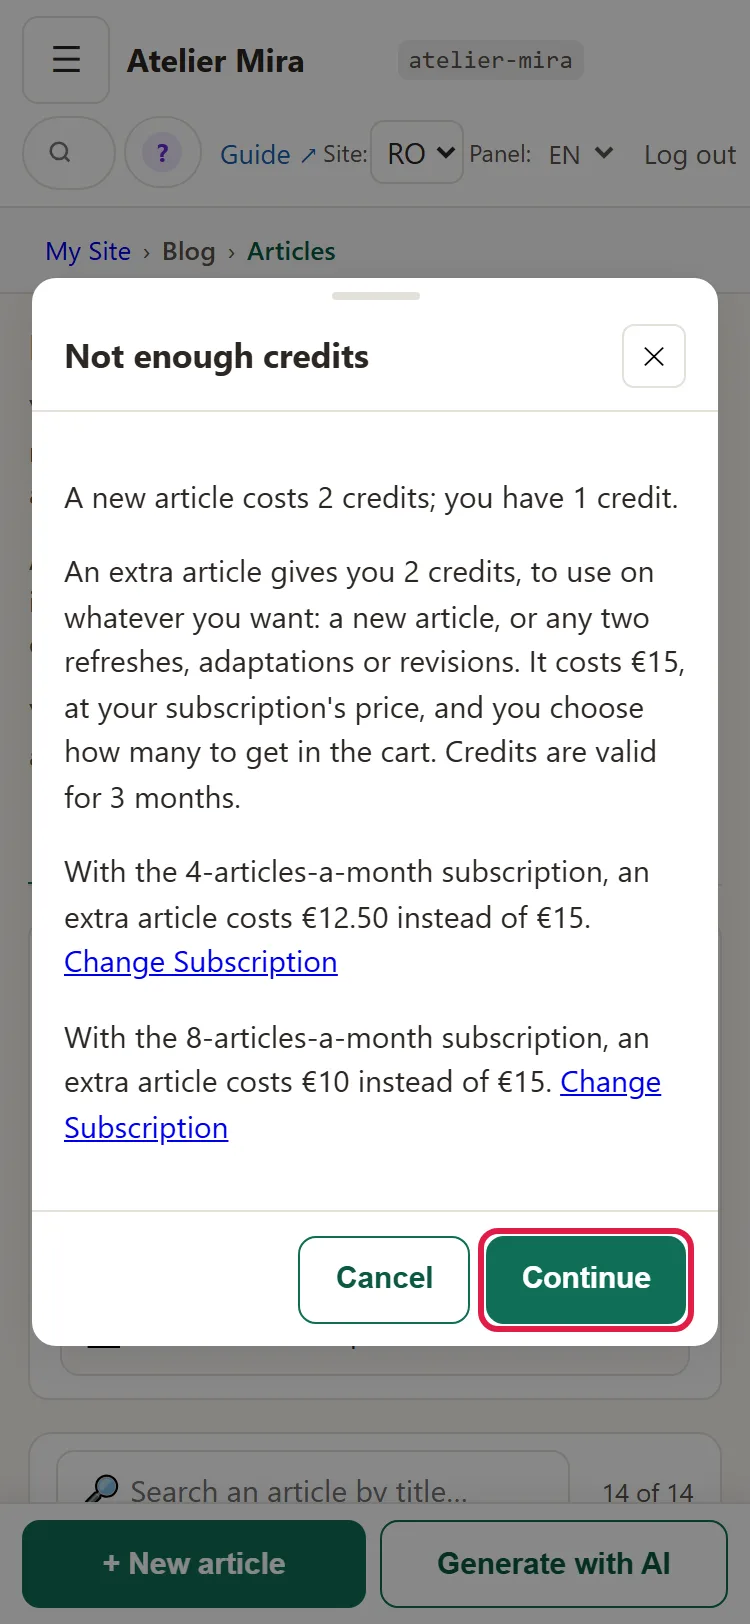
When you don't have enough credits for what you want to do, the "Not enough credits" window tells you what it costs and how many you have, then offers you 2 extra credits for €15 + VAT, whatever your tier, to use on whatever you want. Add to Cart opens the payment page, where you choose how many packs of 2 credits to get and see the total before you pay. Its credits are also valid in the month you buy them and the following two; as with all credits, the ones that expire first are used first.
How to translate an article into another language
You need the Multilingual website add-on. Translating doesn't use Blogging Plus credits: it uses one page translation, from Page translation (10 pages = €29 + VAT, 50 pages = €99 + VAT, valid for 12 months). It works without Blogging Plus too.
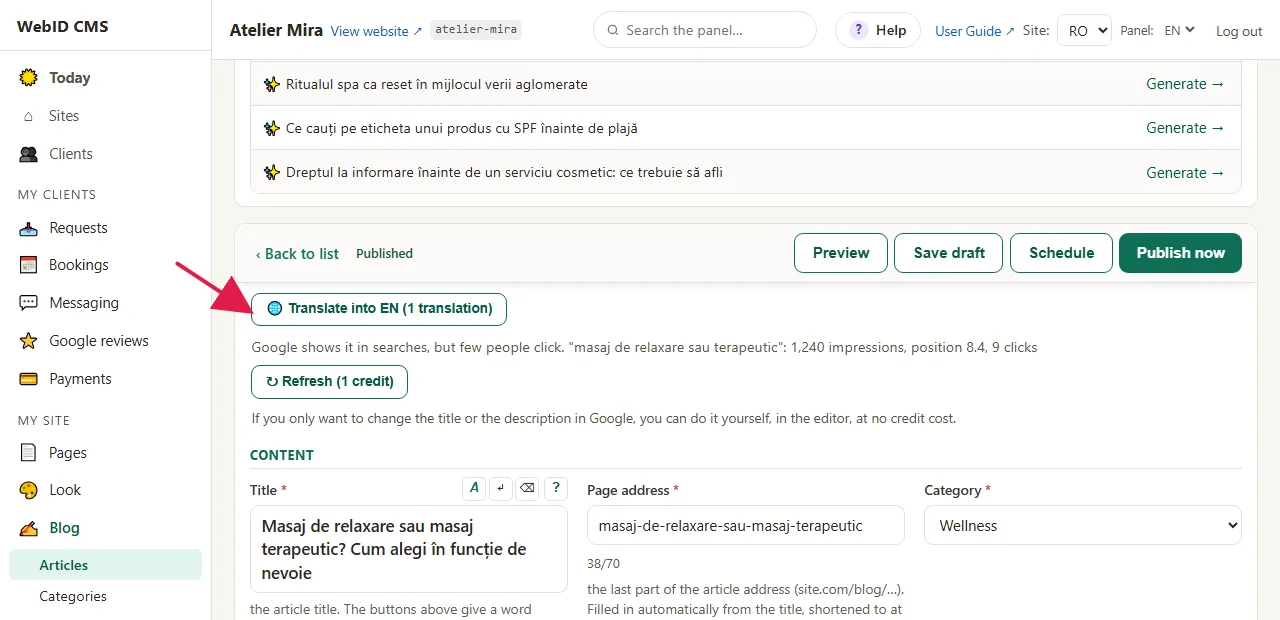
- In the article's editor, click Translate into and the language (there's a button for each of your website's languages). If you're out of translations, the button takes you to the cart.
- For some languages (Hungarian, for example) we don't have an automatic grammar check. Then a window tells you so first: choose Continue or Cancel. If you go ahead, have the text read by you or someone who knows the language before you publish it.
- Confirm: the translation uses one page translation; the window shows you how many you have left.
- The draft appears in that language's list, with the To approve label.
If you then change the Romanian text, the version in the other language gets the out of date label; a new translation uses one more page translation. If the translation doesn't work out, we give it back to you.
How to refresh a published article
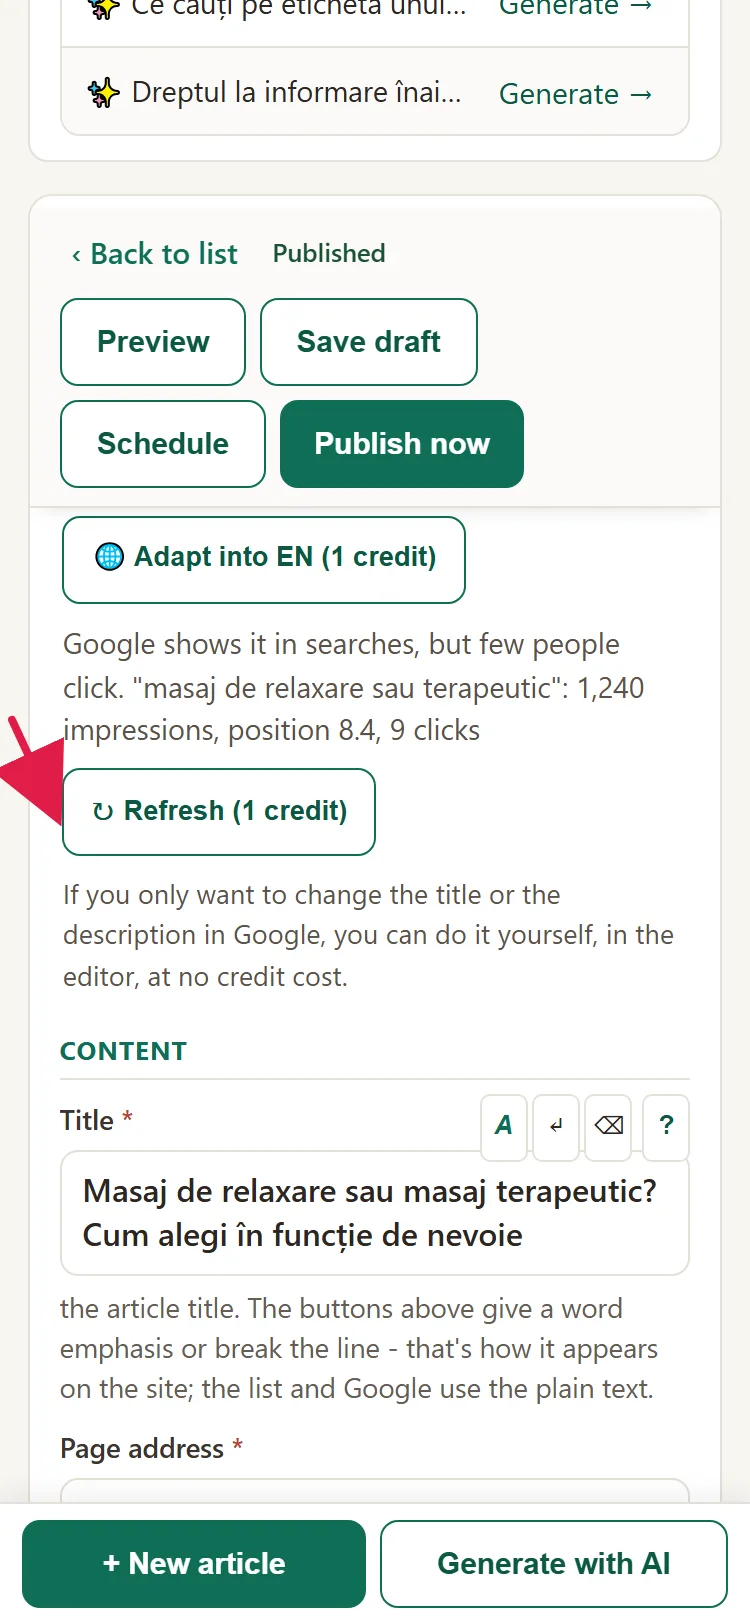
An article that Google shows in searches, but that few people open, can be rewritten by the AI for the searches it already appears in. The address, image and date stay the same. It costs 1 credit.
- In the Blog list, articles worth refreshing have the Worth refreshing label (you also see them in "Today", under Articles to refresh). You can also refresh another published article you choose.
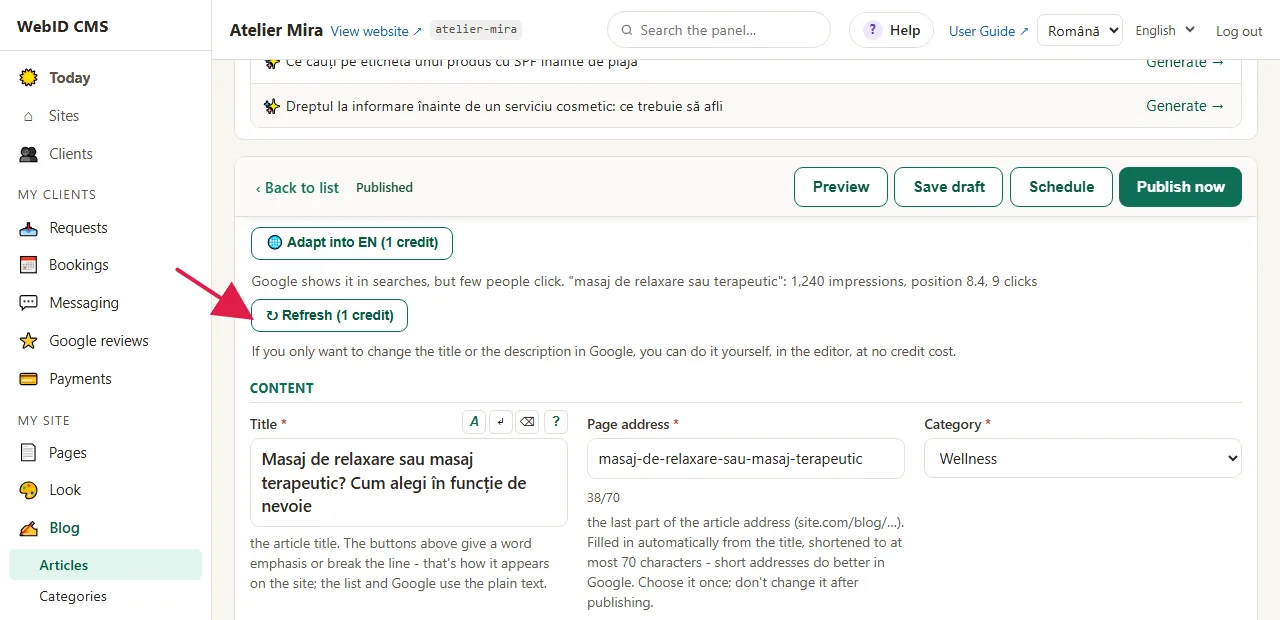
- Open the article and click Refresh (1 credit), then confirm.
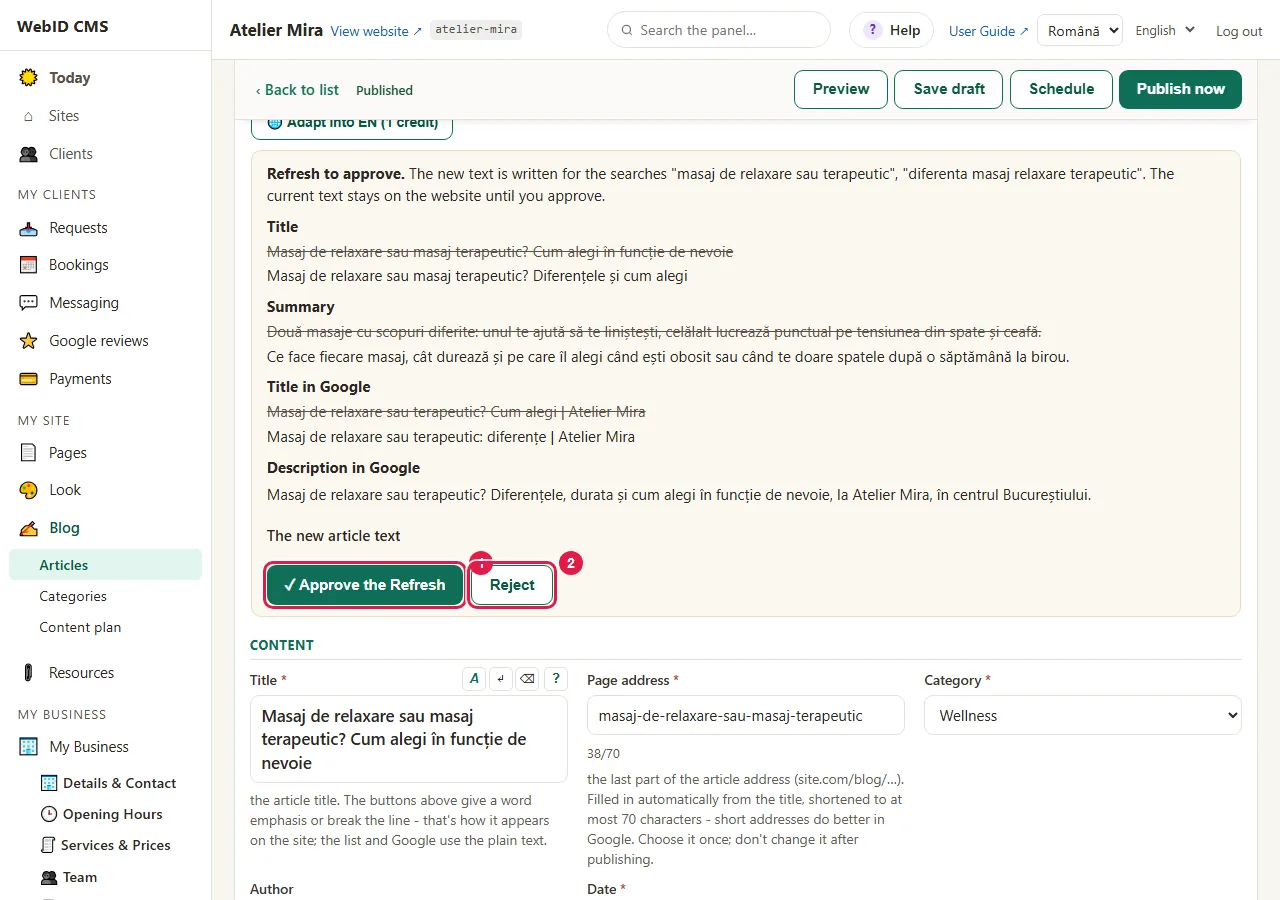
- When the new text is ready, the article has the Refresh to approve label. Open it: you see side by side what changes (the title, the summary, the title in Google, the description in Google, the text). The current text stays on your website until you approve.
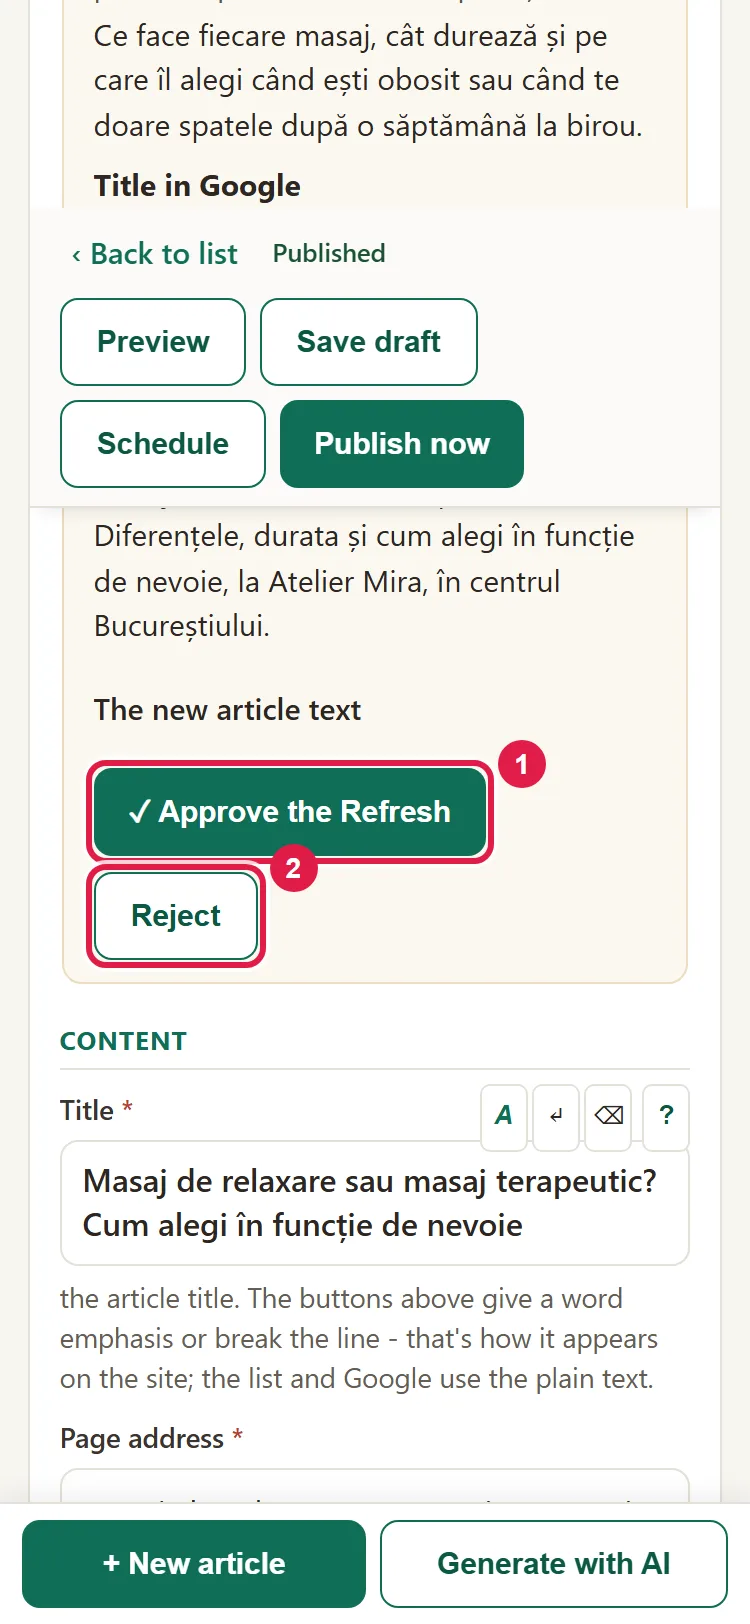
- Click Approve the Refresh, if you like it, or Reject, if you don't. If you reject it, the article stays as it was, and the credit doesn't come back.
If you only want to change the title or description in Google, you can do it yourself, in the editor, without a credit.
Common problems
- "The Generate with AI button has a padlock." Blogging Plus isn't turned on. See the offer.
- "Generate can't be clicked." You haven't chosen a topic or typed anything. Choose a topic from the plan or write briefly what it should be about.
- "It asked me for a credit for a change." You've used the 2 included changes of that kind: 2 for text and 2 for images, counted separately. Confirm (1 credit, refunded if it doesn't work out) or make the change directly in the editor.
- "I can't publish the article." It's still To approve. Click I've read it, I approve, then Publish now.
- "It told me I'm out of credits." The month's credits have been used or are reserved by articles already started. Get extra credits from the window or wait for next month's credits.
- "I don't see the box for another language." Multilingual website isn't turned on or you're working in the list of a language other than the main one.
- "I don't get the email about the article to approve." The "You have an article to approve" row is off, set to a digest or has no recipient. Check in Settings › E-mail Notifications (owner or administrator only).
- "It says Generation failed." The writing didn't work. No credit was used; try again, and if it happens again, write to us at contact@webid.ro.
- "I can't turn on automatic writing." Your account is an editor or article editor account. The owner or an administrator turns it on.
- "It told me I don't have credits left for a revision." You've used the 2 included revisions of that kind (text or image), and an extra revision costs 1 credit that you don't have right now. Change it directly in the editor, for free, or wait for next month's credits.
- "Something else isn't working." Write to us at contact@webid.ro with what you see on the screen and we'll take a look.
What it doesn't do
- It doesn't publish anything on its own, not even articles written automatically. Only the writing is automatic.
- It doesn't write without credits. Automatic writing waits for next month's credits.
- It doesn't pick topics by itself: it writes from what you start or, with automatic writing, only from approved topics.
- The version in another language is only made in the languages your website already has.
- The check's notes (what didn't come out right) are only in the "You have an article to approve" email, not in the admin panel.
- If the admin panel tells you that on your website publishing doesn't start on its own, the scheduled article won't appear at the chosen time: come back and click Publish now.
What data it uses
To write the article, the AI only receives information about your business: the company, the services, your website's texts, your brand voice (with the names of team members, if they appear there), the chosen topic and, when you ask for a change, the article text and your request. Anthropic writes the text, and OpenAI does the second check and the image, both on the list of providers in the DPA. The articles, drafts and plan are stored on your website, and the consent for automatic writing is kept with who accepted it, when and what text they accepted.