What to set up in the admin panel in your first week
In the first few days after you get your website, you set up a few things you only do once. The most important is the first: email notifications, so you hear about every new request without keeping the admin panel open. You can spread the others over a few days.
What the "Still to set up" list shows you
- Open "Today" and find the Still to set up section. Each row has ○ (to do) or ✓ (done).
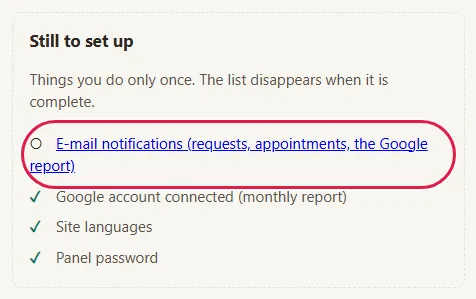
- Click a ○ row to go straight to its screen.
The rows you may see:
- E-mail notifications (requests, appointments, the Google report): you always see it. It gets ✓ when the website can send emails, not when you've received the test: you do the test anyway, on Day 1.
- Google account connected (monthly report): only if you have SEO - setup or Visibility.
- Site languages: only if you have the Multilingual website add-on. It gets checked when the website has a second language.
- Panel password: usually already ✓, since you signed in with it.
The list disappears when all rows are ✓. It doesn't track two-step verification, your business details or your colleagues: the steps below about them are our recommendation.
Day 1: how to turn on email notifications
- Click the E-mail notifications… row in "Today" or go to Account & Settings › Settings › E-mail Notifications.
- Under How it is sent, make sure Off isn't selected. If it is, and you don't have the email details from your hosting company, write to us at contact@webid.ro and we'll add them for you.
- Check the address in Address you receive at.
- Click Send a test. The admin panel first saves what you changed above.
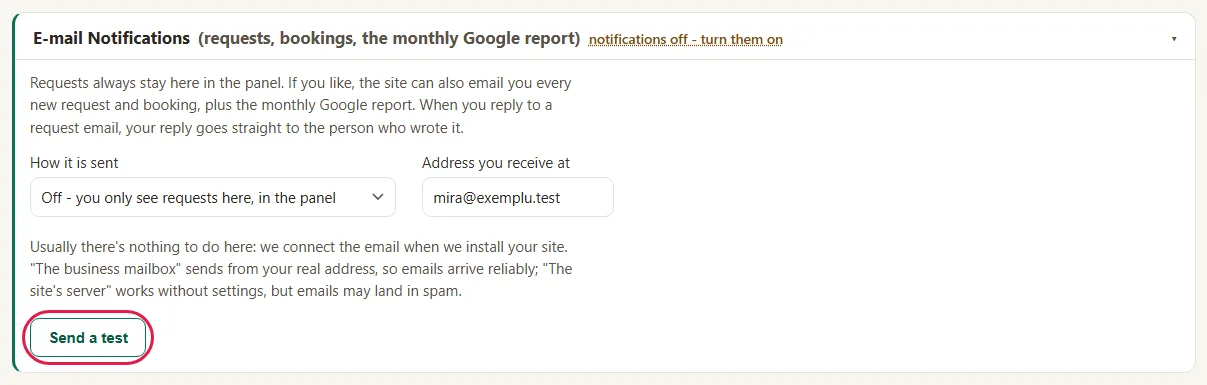
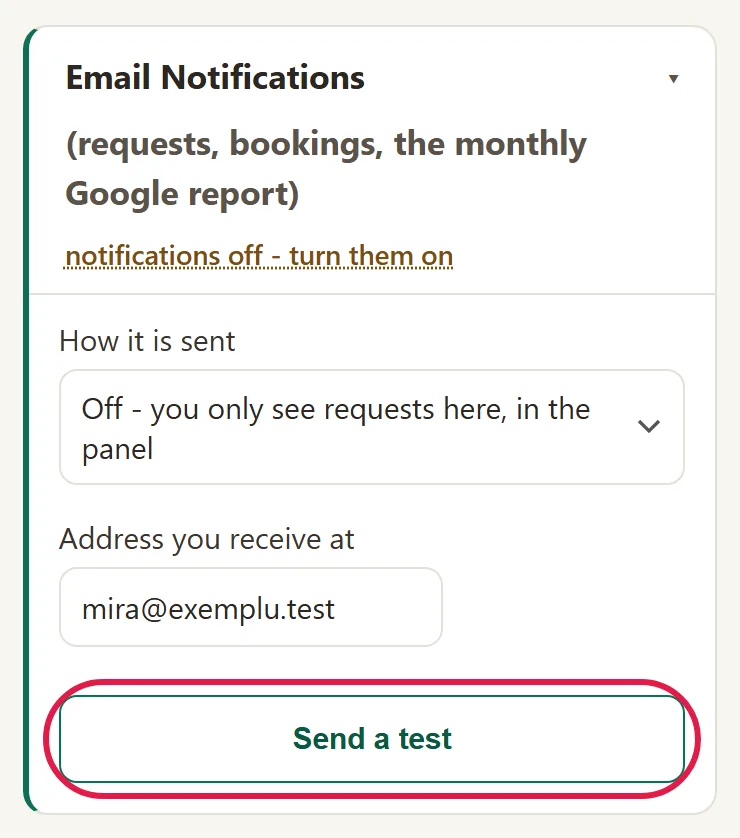
- Look for the test email in your inbox (and in Spam).
- Further down, under Which notifications you get, choose the notifications you want.
- Click Save, at the top.
All the steps, notification by notification: How to choose which email notifications you get and who else gets them.
Day 1–2: how to turn on two-step verification
With it, when you sign in we ask for a code from your phone on top of your password. The admin panel doesn't make you do it, but we recommend it.
- Go to Account & Settings › My Account and open Two-step verification.

- Click Turn On Verification and follow the steps on the screen: you scan the code with the app on your phone, keep the backup codes and choose a security question.
All the steps: How to turn on two-step verification, so a password alone is no longer enough.
Day 2–3: how to check your business details
- Start with My Business › Details & Contact: check your phone number and address, since that's how clients find you. Then click Save.
- In "Today", under Quick changes, click Prices, Opening Hours, Gallery Photos and Home Page Text in turn. You only see the buttons your website has.

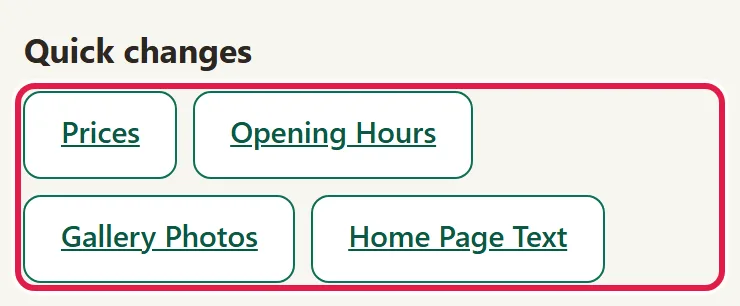
- Fix anything that's wrong and click Save.
For each change: How to change your website yourself.
When you need to: how to bring in your colleagues
- Go to Account & Settings › Users and click Invite someone.
All the steps: How to bring your colleagues into the admin panel, each with what they're allowed to do.
Just once: how to turn on the add-ons you have
- Go to Account & Settings › My Account and look at What you have now: that's where you see which add-ons you have.
- Turn them on one by one, with each one's guide:
- SEO: you connect your Google account from the ○ Google account connected row in "Today"; see How more clients find you on Google.
- Bookings: see How to get bookings without phone calls and without no-shows.
- Card payments (if you have Maintenance): see How to get paid by card for a service or a deposit.
- Blogging Plus: you approve the first topics in your blog plan and start the first article; see How to write on your blog with AI. Each month's credits stay valid this month and the following two, so you don't lose them if you start later in the week.
- Multilingual website: the ○ Site languages row in "Today"; see How to show your website in another language too.
Anytime: how to start the admin panel tour
- Click Help (the question mark), at the top, next to search, then General Tour.
What you'll find in each area: How to quickly find anything in the admin panel.
What you use after the first week
"Today" becomes your everyday place: at the top you see new requests and appointments, and below them Quick changes. The "Still to set up" list no longer appears once all its rows are ✓.
Common problems
- "The notifications row stays ○, even though I entered the address." The row only gets checked when the website can send emails. Most often, Off is selected under How it is sent; otherwise, the mailbox details are missing or wrong. Choose another option or fill in the details and click Save. If you don't have the email details from your hosting company, write to us at contact@webid.ro and we'll add them for you.
- "I see: The test did not go out." Most often, the mailbox details don't match the ones from your hosting company. Write to us at contact@webid.ro with what appears after "The test did not go out:". We usually add these details ourselves when we install your website.
- "I don't see Users or Settings." You signed in with a colleague's account that has the Editor role. Ask the website owner to do these steps.
- "The list disappeared, but I haven't done everything." All its rows were done. Two-step verification and colleagues aren't on the list: set them up with the steps above.
- "Something else isn't working." Write to us at contact@webid.ro with what you see on the screen and we'll take a look.
What it doesn't do
- The list in "Today" only has those four rows. It doesn't track two-step verification, business details, colleagues, bookings or payments.
- The notifications row gets checked when the website can send emails, not when you've chosen your notifications or received the test.
- You can't hide the list. It only disappears when it's complete.
- The "Panel password" row takes you to "Settings". From there, click Go to My Account →.
What data it uses
This guide doesn't add any new data: the "Still to set up" list is worked out from the settings you already have and isn't stored anywhere. The data each step uses (notifications, two-step verification, colleagues) is described in that step's own guide.
See also
- How to sign in to your website's admin panel for the first time
- How to choose which email notifications you get and who else gets them
- How to turn on two-step verification, so a password alone is no longer enough
- How to bring your colleagues into the admin panel, each with what they're allowed to do